DIY Under Cabinet LED Lighting: Parts, Placement, and Common Problems
A practical DIY under cabinet LED lighting guide covering plug-in vs hardwired systems, strip placement, diffuser channels, power supplies, glare, flicker, and safe installation choices.

DIY under cabinet LED lighting is one of the highest-impact kitchen upgrades because it fixes the exact place where overhead lighting usually fails: the countertop. Ceiling fixtures put your body between the light and the work surface, so chopping, reading labels, washing dishes, and making coffee happen in shadow. A clean under-cabinet setup puts light where your hands are, makes the kitchen look more finished, and can be done without a full remodel.
The best approach is not to buy the brightest strip you can find and stick it wherever it fits. Good under-cabinet lighting comes from the right parts, the right placement, a power plan that is not overloaded, and enough diffusion to hide harsh LED dots. Start with one counter run, test it at night, then repeat the setup only after the light looks even and comfortable.
[ENERGY STAR](https://www.energystar.gov/products/lighting_fans/light_bulbs) recommends comparing lighting by lumens, color appearance, lifetime, and tested performance rather than relying on old wattage habits. The [U.S. Department of Energy](https://www.energy.gov/energysaver/led-lighting) explains that LEDs use less energy and last longer than incandescent lighting, which makes them well suited for high-use kitchen task light. The [IEEE 1789 recommended practice](https://standards.ieee.org/ieee/1789/6180/) is useful for DIY buyers because low-quality drivers, poor dimmers, and mismatched controls can create flicker even when the lights look bright.
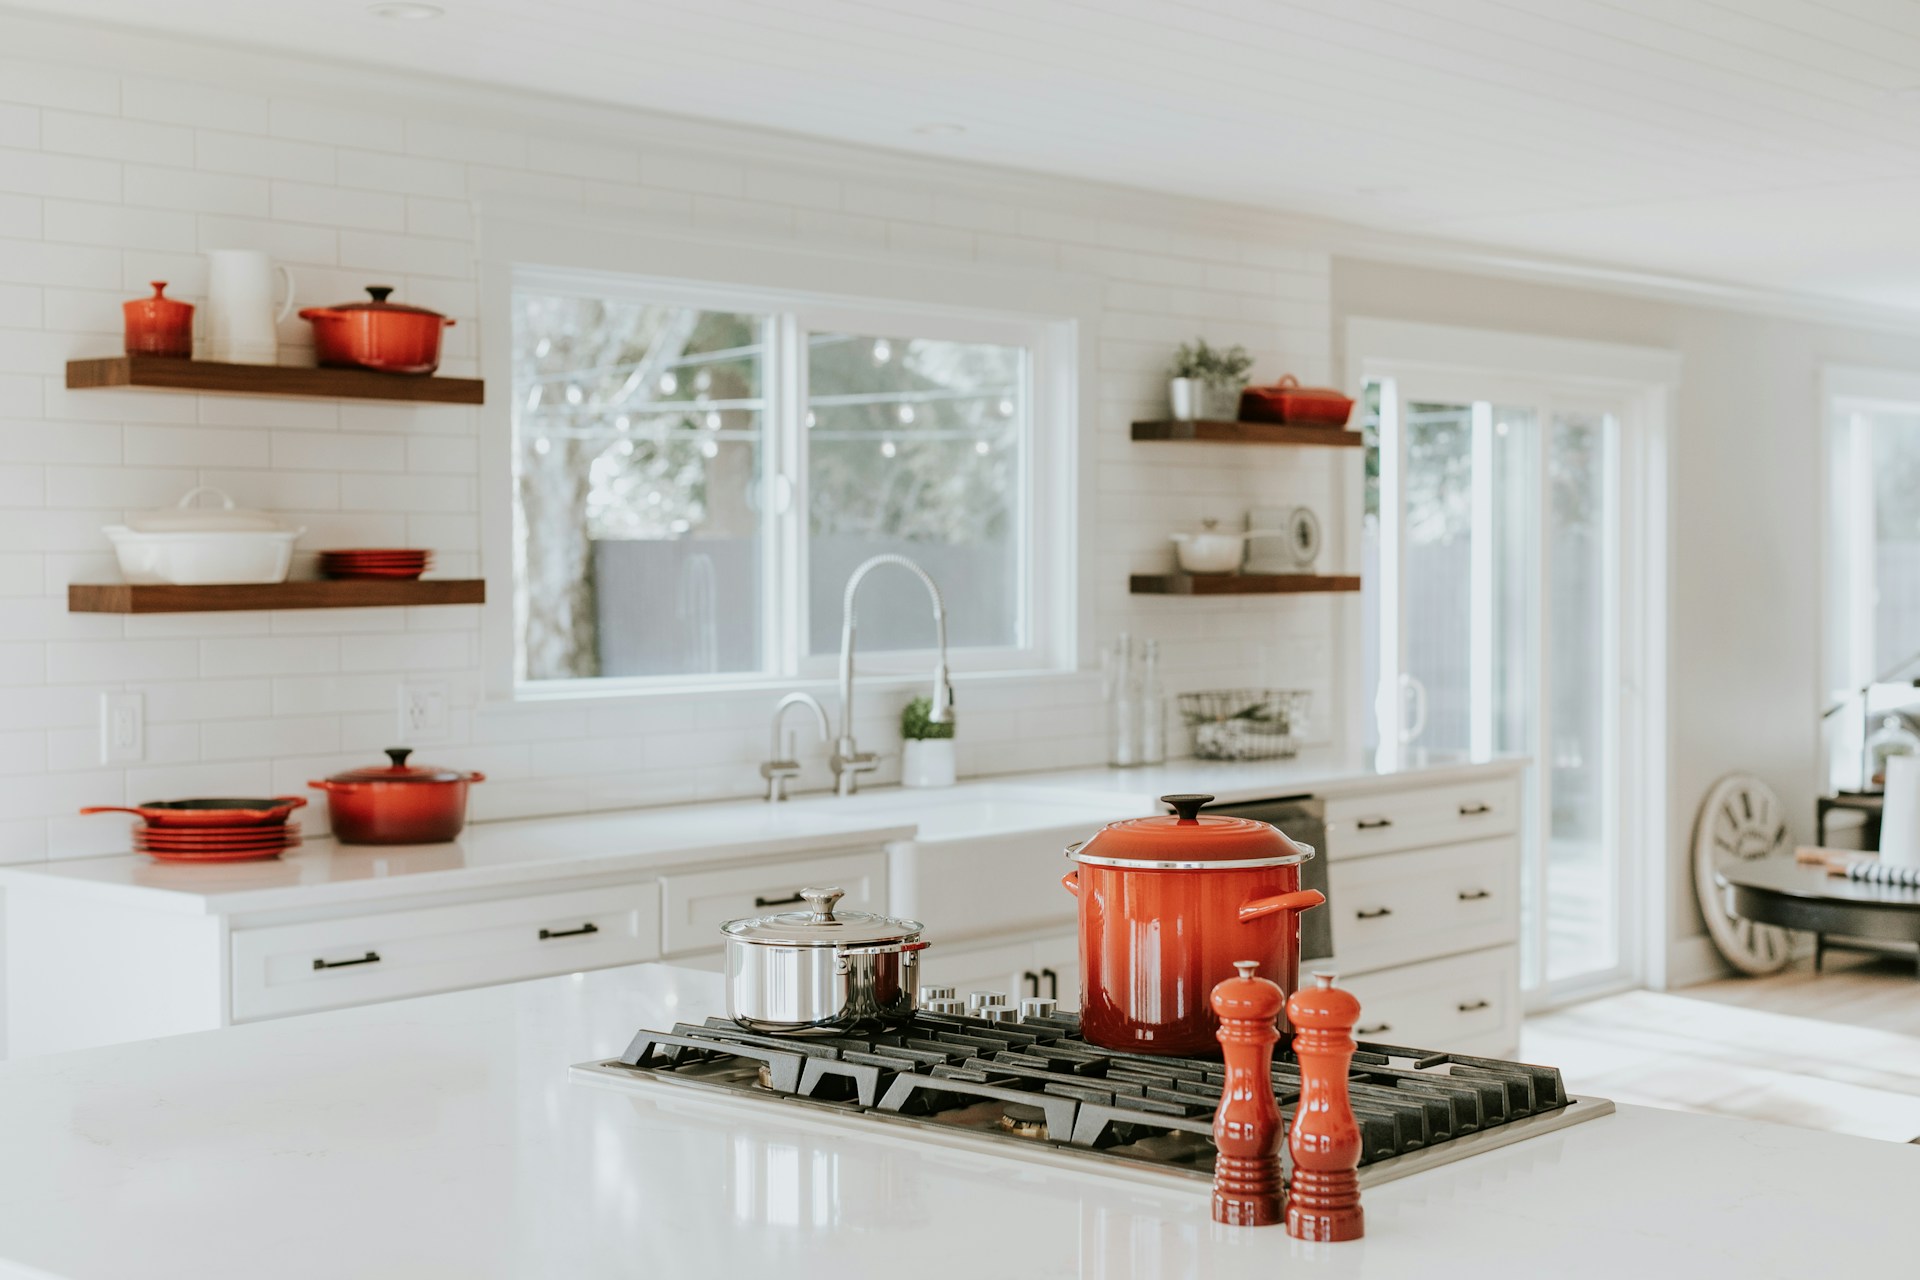
Choose the Counter That Needs Help First
Before ordering parts, turn on the kitchen at night and look at the actual work zones. The best first run is usually the main prep counter, the sink wall, or the coffee station. Do not start with decorative toe-kick lighting or cabinet-top glow if the cutting board is still dark.
Measure each cabinet section separately. Note where outlets are, where the microwave or range breaks the run, where water is nearby, and whether any cabinet bottoms are recessed. These details decide whether you need plug-in light bars, LED tape in aluminum channels, battery lights, or a hardwired system installed by an electrician.
If the kitchen already has general lighting problems, read our [budget LED lighting upgrade plan](/blog/budget-led-lighting-upgrade-plan-room-by-room) first. Under-cabinet lights work best as task lighting, not as the only light source in the room.
Plug-In, Battery, or Hardwired?
Plug-in under-cabinet LED lighting is the easiest DIY option. It is ideal for renters, first-time installers, and anyone who wants to test a layout before committing. The downside is cord management. A visible cord crossing a backsplash can make a good lighting upgrade look temporary, so plan the outlet path before buying.
Battery lights are simple and reversible, but they are usually best for low-use shelves, pantries, rental kitchens, or dark corners. For a main prep counter, batteries can become annoying because brighter task light drains them faster.
Hardwired lighting gives the cleanest finish and can connect to a wall switch or dimmer, but it belongs in the qualified-electrical-work category for most homeowners. If a project involves opening walls, adding junction boxes, changing switches, or working near line voltage, bring in a licensed electrician.
LED Strips vs Light Bars vs Pucks
LED strips are flexible and can look excellent when mounted inside a diffuser channel. They work well for long continuous cabinet runs and custom lengths. The mistake is leaving bare strips exposed under the cabinet, especially above glossy counters. Bare diodes can reflect as dotted lines on stone, tile, glass, and polished appliances.
Light bars are easier because the housing, diffuser, and mounting method are already built in. They are a strong choice for clean DIY installs, especially when the bars can link together. Check the link cable lengths before buying; many kits look simple until a cabinet gap or range hood interrupts the run.
Puck lights create pools of light instead of an even line. They can work inside glass cabinets or for accent lighting, but they are usually not the best choice for food prep unless they are spaced carefully and diffused well.
Put the Light Toward the Front
Placement matters more than most buyers expect. Mount the light too far back and it illuminates the backsplash while leaving the counter edge darker. Mount it too far forward and it may glare into your eyes when you sit nearby. For most cabinets, the best starting point is near the front underside rail, aimed down at the counter.
Test before final mounting. Use painter's tape to hold one light in place, turn off the overhead light, and check the counter from normal standing positions. Look for shadows from your hands, glare on glossy surfaces, and visible LED dots. Move the light in small increments until the counter looks even.
For more no-contractor ideas, our guide to [lighting upgrades under $50](/blog/lighting-upgrades-under-50-no-contractor) shows where plug-in task lighting fits into a broader room upgrade.

Use the Right Color Temperature
Most kitchens look best with under-cabinet lights between 3000K and 3500K. That range feels clean enough for prep work without making wood, stone, and food look harsh. If the rest of the kitchen is warm and traditional, 2700K can work. If the kitchen is very modern with cool finishes, 3500K or 4000K may look better.
Avoid mixing a cool under-cabinet strip with warm ceiling bulbs unless the contrast is intentional. Mixed color temperatures make a kitchen feel patched together. If you are replacing other bulbs at the same time, test one area before buying multipacks.
Color rendering matters too. If tomatoes look dull, meat looks gray, or wood counters lose warmth, the issue may be color quality instead of brightness. Choose better LED products for food-prep zones, not just more lumens.
Size the Power Supply Correctly
LED strips and low-voltage bars need a power supply that can handle the total load. Add up the watts for every strip or bar on the run, then choose a compatible driver with headroom. A driver running at its limit can heat up, shorten component life, or create instability.
Voltage matters. Do not mix random 12V and 24V components. Do not cut strips anywhere except marked cut points. Do not hide a power supply where heat cannot escape. If the kit includes a driver, stay within the manufacturer's stated maximum linked length.
For strip lighting, longer runs may need power fed from more than one point to prevent visible dimming at the far end. That is one reason a simple light-bar kit can be better for beginners than loose tape, connectors, and a separate driver.
Diffusers Make DIY Look Finished
An aluminum channel with a frosted diffuser is often the difference between a polished install and a visible DIY strip. The channel keeps the strip straight, helps with heat, protects the tape from dust and cleaning spray, and softens the dots.
Use a deeper channel when possible because distance between the LEDs and diffuser helps blend the light. Very shallow channels may still show dots, especially with low-density strips. If the counter is glossy, test the reflection before committing.
Adhesive alone is not always enough under cabinets. Heat, steam, wood texture, and cooking residue can weaken tape. Clean the surface, use mounting clips or screws where allowed, and avoid placing strips directly above high-heat appliances unless the product is rated for that location.
Plan Controls Before Mounting
Controls should match the way the kitchen is used. A simple rocker switch on the cord may be fine for a coffee station. A remote can work if it has a permanent home. A motion sensor is useful in pantries and laundry areas but can be irritating on a main counter if it turns off while you are cooking.
Dimming is worth having because task light at full output may feel too bright at night. Make sure the dimmer is compatible with the driver and LED type. A random inline dimmer, smart plug, and strip kit may not work cleanly together.
If your LEDs shimmer, buzz, or pulse, use our guide to [why LED bulbs flicker and how to fix it](/blog/why-led-bulbs-flicker-how-to-fix-it) to narrow down whether the problem is the driver, dimmer, connection, heat, or wiring.
Common Problems to Avoid
The first common problem is visible dots. Solve it with diffusers, denser strips, better placement, or light bars with built-in lenses.
The second problem is harsh reflection. Glossy counters, stainless appliances, and glass tile can reveal every diode. Test reflections at night before attaching the final channel.
The third problem is overloaded or mismatched power. Stay within kit limits, use the correct voltage, and avoid combining parts from unknown sources unless you understand the electrical requirements.
The fourth problem is ugly cords. Plan cable routes behind cabinet lips, through safe pass-throughs, or along hidden edges. Never run cords where they can touch burners, sinks, drawers, or sharp hardware.
The fifth problem is treating adhesive tape as permanent. Kitchen heat and residue are hard on glue. Mechanical clips make the installation more reliable.
Bottom Line
DIY under cabinet LED lighting works best when it is treated like task lighting, not decoration. Start with the counter that needs help most, choose plug-in or hardwired based on the project scope, use diffused strips or light bars, mount the light toward the front of the cabinet, match color temperature to the kitchen, and size the power supply correctly.
The safest and cleanest DIY path is usually a diffused plug-in bar or low-voltage strip kit for one cabinet run. Test the placement at night before final mounting. If the project requires new wiring, wall switches, junction boxes, or line-voltage work, hire an electrician and keep the DIY work to planning, product selection, and layout.
Sources
- [ENERGY STAR: Light Bulbs](https://www.energystar.gov/products/lighting_fans/light_bulbs)
- [U.S. Department of Energy: LED Lighting](https://www.energy.gov/energysaver/led-lighting)
- [IEEE Std 1789-2015: Recommended Practices for Modulating Current in High-Brightness LEDs](https://standards.ieee.org/ieee/1789/6180/)
Frequently Asked Questions
Should DIY under cabinet LED lighting be plug-in or hardwired?
Plug-in lighting is best for renters, simple DIY installs, and testing a layout. Hardwired lighting gives the cleanest finish but usually requires a licensed electrician, especially if switches, junction boxes, or line-voltage wiring are involved.
How do you avoid visible dots from LED strips?
Use an aluminum channel with a frosted diffuser, choose denser LED strips, mount the strip where it cannot reflect directly on glossy counters, and test the setup at night before final installation.
What power supply size is needed for LED strips?
Add the wattage of every strip section on the run, then choose a compatible driver with headroom above that total. Use the correct voltage and stay within the manufacturer's maximum linked length.
What color temperature is best for kitchen under-cabinet lights?
Most kitchens look best around 3000K to 3500K. Warmer kitchens may suit 2700K, while modern cool-toned kitchens may suit 3500K to 4000K. Avoid mixing very warm and very cool lights in the same room.