Budget LED Upgrades That Cut Energy Use Without a Full Remodel
A practical room-by-room guide to budget LED upgrades that lower energy use, improve comfort, and avoid the cost of a full electrical remodel.

Budget LED upgrades work best when they are targeted. You do not need to remodel a kitchen, replace every fixture, or turn the house into a smart home to cut lighting energy use. The fastest wins usually come from replacing high-use lamps, fixing mismatched brightness, adding simple controls, and choosing LEDs that fit the fixture instead of chasing the cheapest multipack.
The key is to treat lighting like a small system. A bulb, fixture, dimmer, color temperature, room use, and daily runtime all affect the result. A $5 LED in the right lamp can save more than a $90 fixture in a room no one uses. A motion sensor in a garage can cut more wasted runtime than another decorative upgrade. A better under-cabinet light can make a kitchen feel remodeled without touching the ceiling.
[ENERGY STAR](https://www.energystar.gov/products/lighting_fans/light_bulbs) recommends comparing bulbs by lumens, color appearance, lifetime, and tested performance, not just old wattage equivalents. The [U.S. Department of Energy](https://www.energy.gov/energysaver/led-lighting) says residential LEDs use at least 75 percent less energy and can last much longer than incandescent lighting. That is the reason budget LED upgrades can pay back quickly when the old bulbs are still halogen or incandescent.
There is one catch: cheap upgrades still need quality control. Poor drivers, bad dimmer matches, enclosed fixtures, heat buildup, and visible flicker can turn a money-saving project into a frustrating one. The [IEEE 1789 recommended practice](https://standards.ieee.org/ieee/1789/6180/) addresses LED flicker because temporal light modulation can affect visual comfort for some people. You do not need to become an engineer, but you should avoid lights that visibly shimmer, buzz, or behave unpredictably on a dimmer.
Start With the Lights That Run the Longest
The best budget LED upgrade is usually the light that runs the most hours. In many homes, that means kitchen ceiling lights, recessed cans, bathroom vanity bulbs, porch lights, hallway lights, garage lights, basement fixtures, and lamps in living areas. Replacing a rarely used guest-room bulb can be fine, but it will not change the bill much.
Prioritize old incandescent and halogen bulbs first. They waste much more energy as heat. If a kitchen still has halogen cans, that is a better first upgrade than replacing an already efficient LED lamp in a bedroom. Outdoor fixtures with old bulbs are also strong candidates because they often run for long evenings.
If you are planning outdoor improvements, compare this approach with our guide to [cheap solar garden lamps](/blog/cheap-solar-garden-lamps-budget-led-upgrade). Solar path lights can help with garden edges, while wired or plug-in LEDs are usually better for high-use entry and task areas.
Use Lumens, Not Old Wattage
Old buying habits are hard to kill. Many people still shop for a 60-watt bulb when what they really need is about 800 lumens. LEDs use fewer watts to produce similar light, so wattage tells you energy use, not brightness.
For a simple starting point, look for roughly 450 lumens to replace a 40-watt incandescent, 800 lumens for a 60-watt incandescent, 1100 lumens for a 75-watt incandescent, and 1600 lumens for a 100-watt incandescent. Then adjust for the room. A reading lamp may need focused brightness. A bedroom lamp may feel better slightly softer. A garage or laundry area may need much more output.
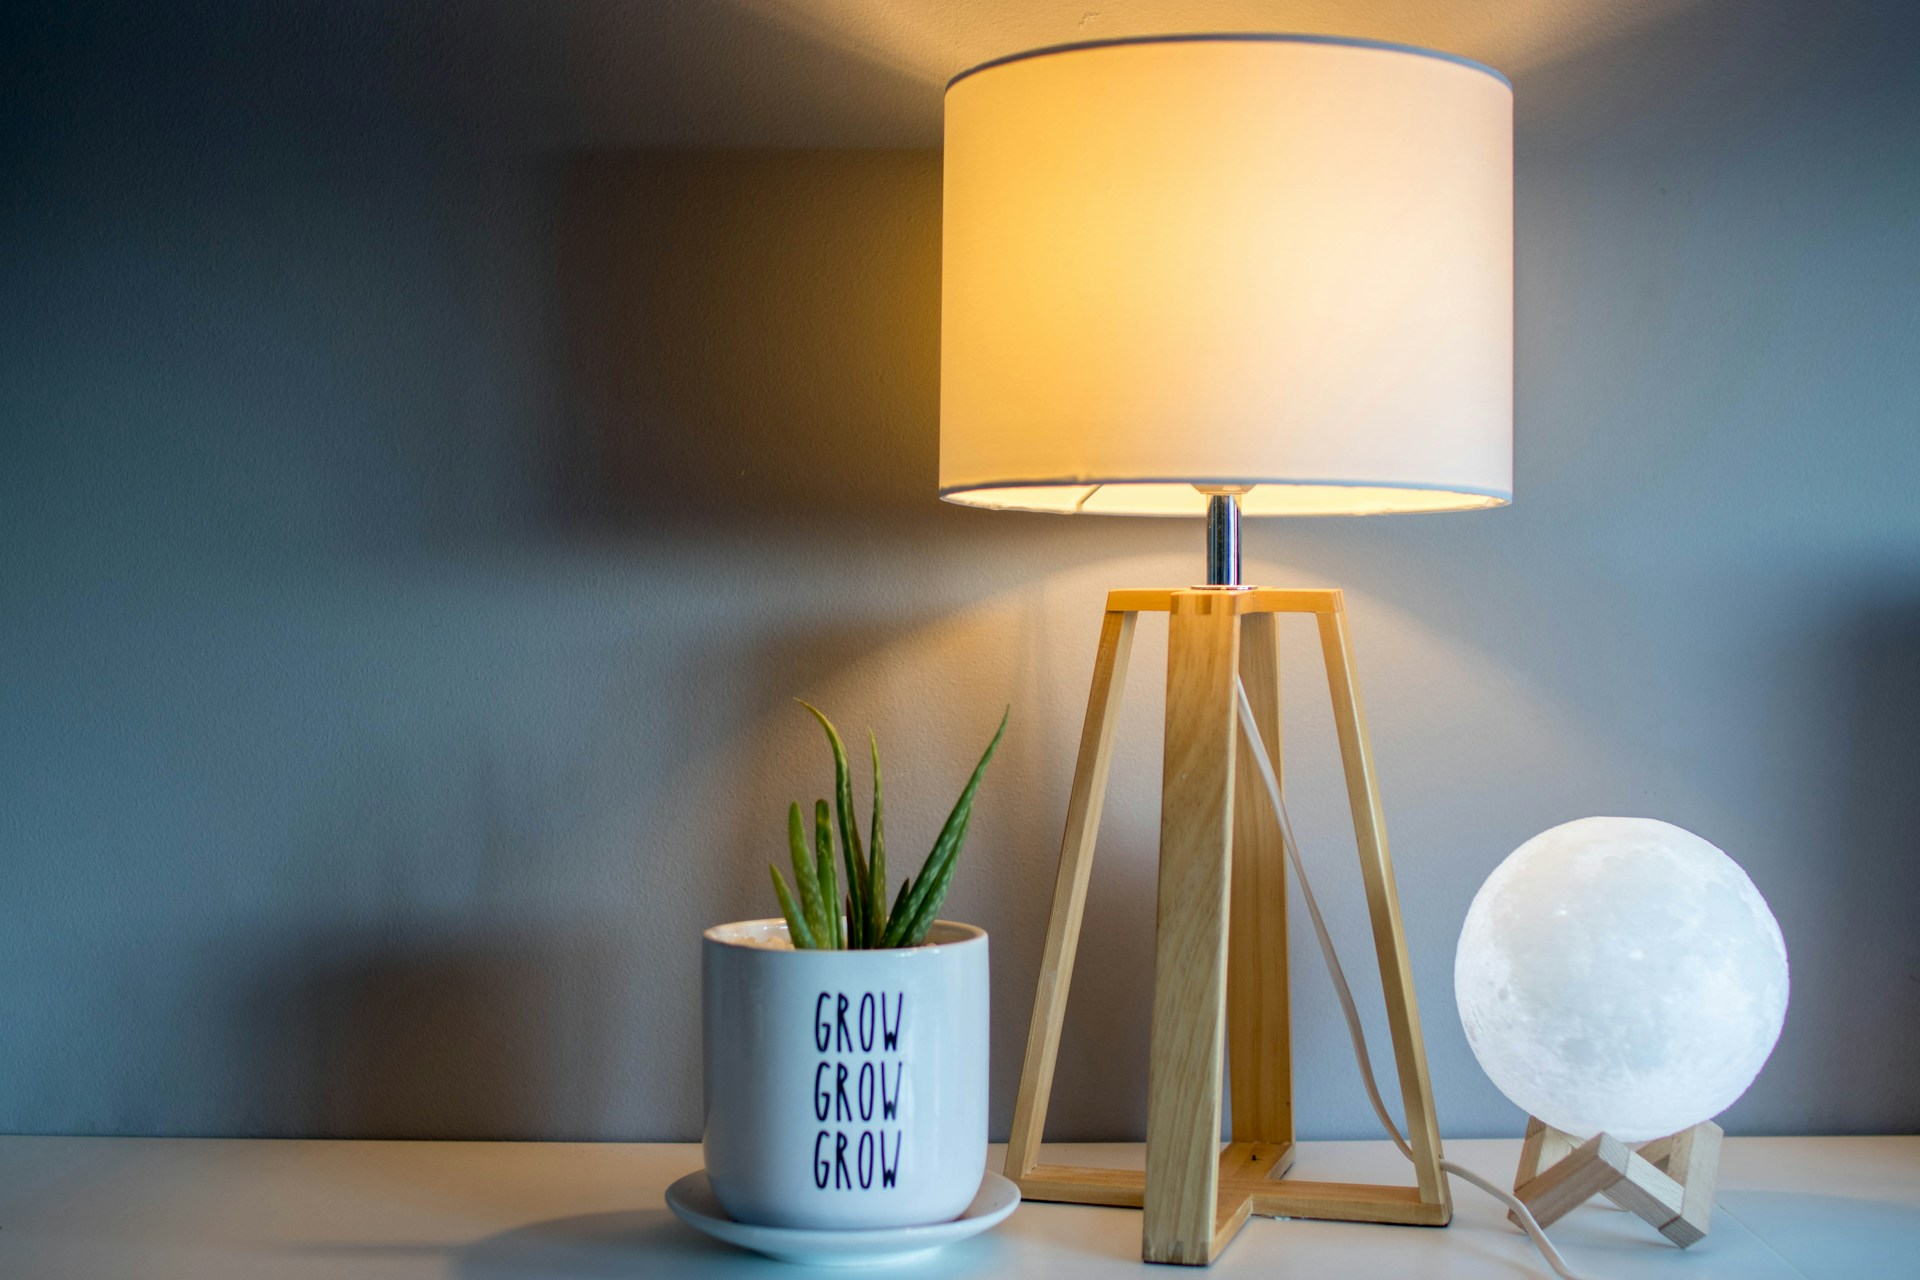
Color temperature matters just as much as brightness. Warm white, usually around 2700K to 3000K, works well in bedrooms, living rooms, dining rooms, and cozy lamps. Kitchens often feel balanced around 3000K to 3500K. Garages, basements, and utility spaces can use 3500K to 4000K when visibility matters more than atmosphere.
Avoid mixing too many color temperatures in one sightline. A warm table lamp beside a cool ceiling light can make a room feel patched together. If the room looks wrong after the swap, the problem may be color temperature, not brightness.
If you are not sure which output is right, selectable LEDs can be useful. Our guide to [multi wattage LED bulbs](/blog/multi-wattage-led-bulbs-budget-upgrade-guide) explains where adjustable output helps and when a fixed-output bulb is still the cleaner buy.
Replace Bulbs Before Fixtures
A full fixture replacement sounds like a bigger upgrade, but it is not always the first move. If the fixture is in good condition, has standard sockets, is rated for LED bulbs, and fits the room visually, start with bulbs. That keeps the project cheap, fast, and reversible.
Replace fixtures when the existing one traps heat, uses an odd bulb type, creates glare, has brittle sockets, looks dated in a highly visible space, or cannot provide the light pattern the room needs. For example, a single ceiling dome in a kitchen may be efficient with an LED bulb but still poor for task lighting. Under-cabinet LEDs might solve the real problem for less than a ceiling remodel.
Enclosed fixtures need extra attention. Some LED bulbs are not rated for enclosed spaces because heat can shorten lifespan. Check the label before putting a standard LED in a sealed globe, porch fixture, or flush-mount ceiling light. Early failure is often caused by heat, not bad luck.
Dimmers are another common trouble spot. Not every LED works with every dimmer. If a bulb flickers, buzzes, cuts out at low levels, or jumps in brightness, check whether the bulb is dimmable and whether the dimmer is LED-compatible. Sometimes the best budget upgrade is a compatible dimmer, not more bulbs.
For strip lighting projects, read [when to upgrade from LED strips to permanent lights](/blog/upgrade-from-led-strips-to-permanent-lights). Tape lights are great in some places, but mounted channels, bars, or fixtures are better when the lighting is used daily.
Add Controls Where People Forget
Controls save energy by reducing runtime. They are especially useful in rooms where people forget to turn lights off: closets, garages, laundry rooms, basements, kids' rooms, bathrooms, pantries, hallways, and exterior entries.
Start simple. A plug-in timer can handle a lamp. A dusk-to-dawn bulb can handle a porch light. A motion-sensor bulb can work in a utility room. A smart plug can schedule accent lights. You do not need a full smart-home system for every problem.
Smart bulbs can save energy when they are used for schedules, occupancy routines, and dimmed scenes. They are less useful if they simply encourage more lights to stay on. Keep smart upgrades focused on rooms where automation solves a real habit.
Outdoor controls are often overlooked. A porch light that runs from sunset to sunrise can still be efficient with LEDs, but a dusk-to-dawn sensor or schedule prevents daytime waste. Security lights should be bright enough for the job, but motion activation usually makes more sense than leaving high-output lights on all night.
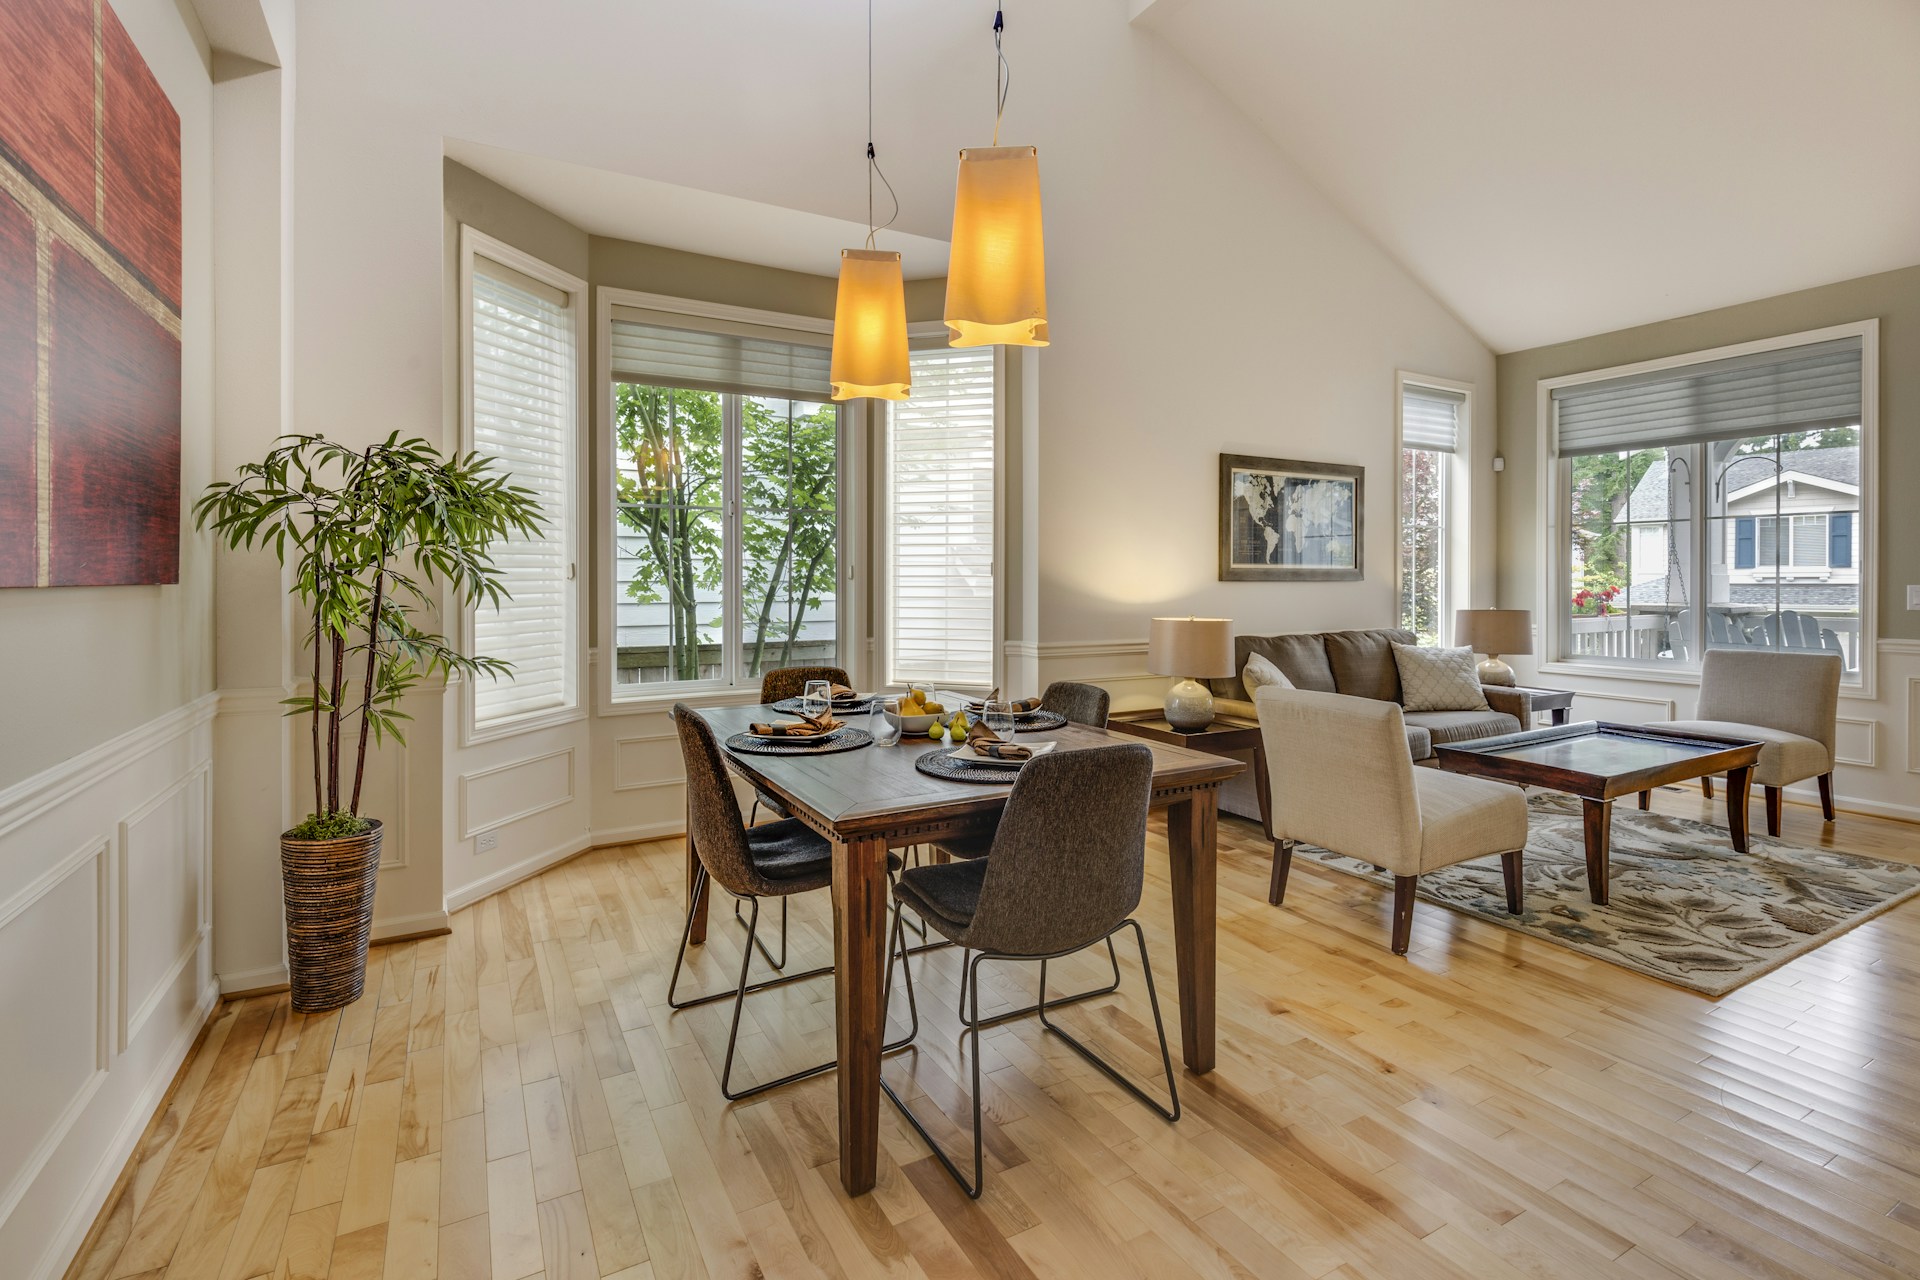
Room-by-Room Budget Upgrade Plan
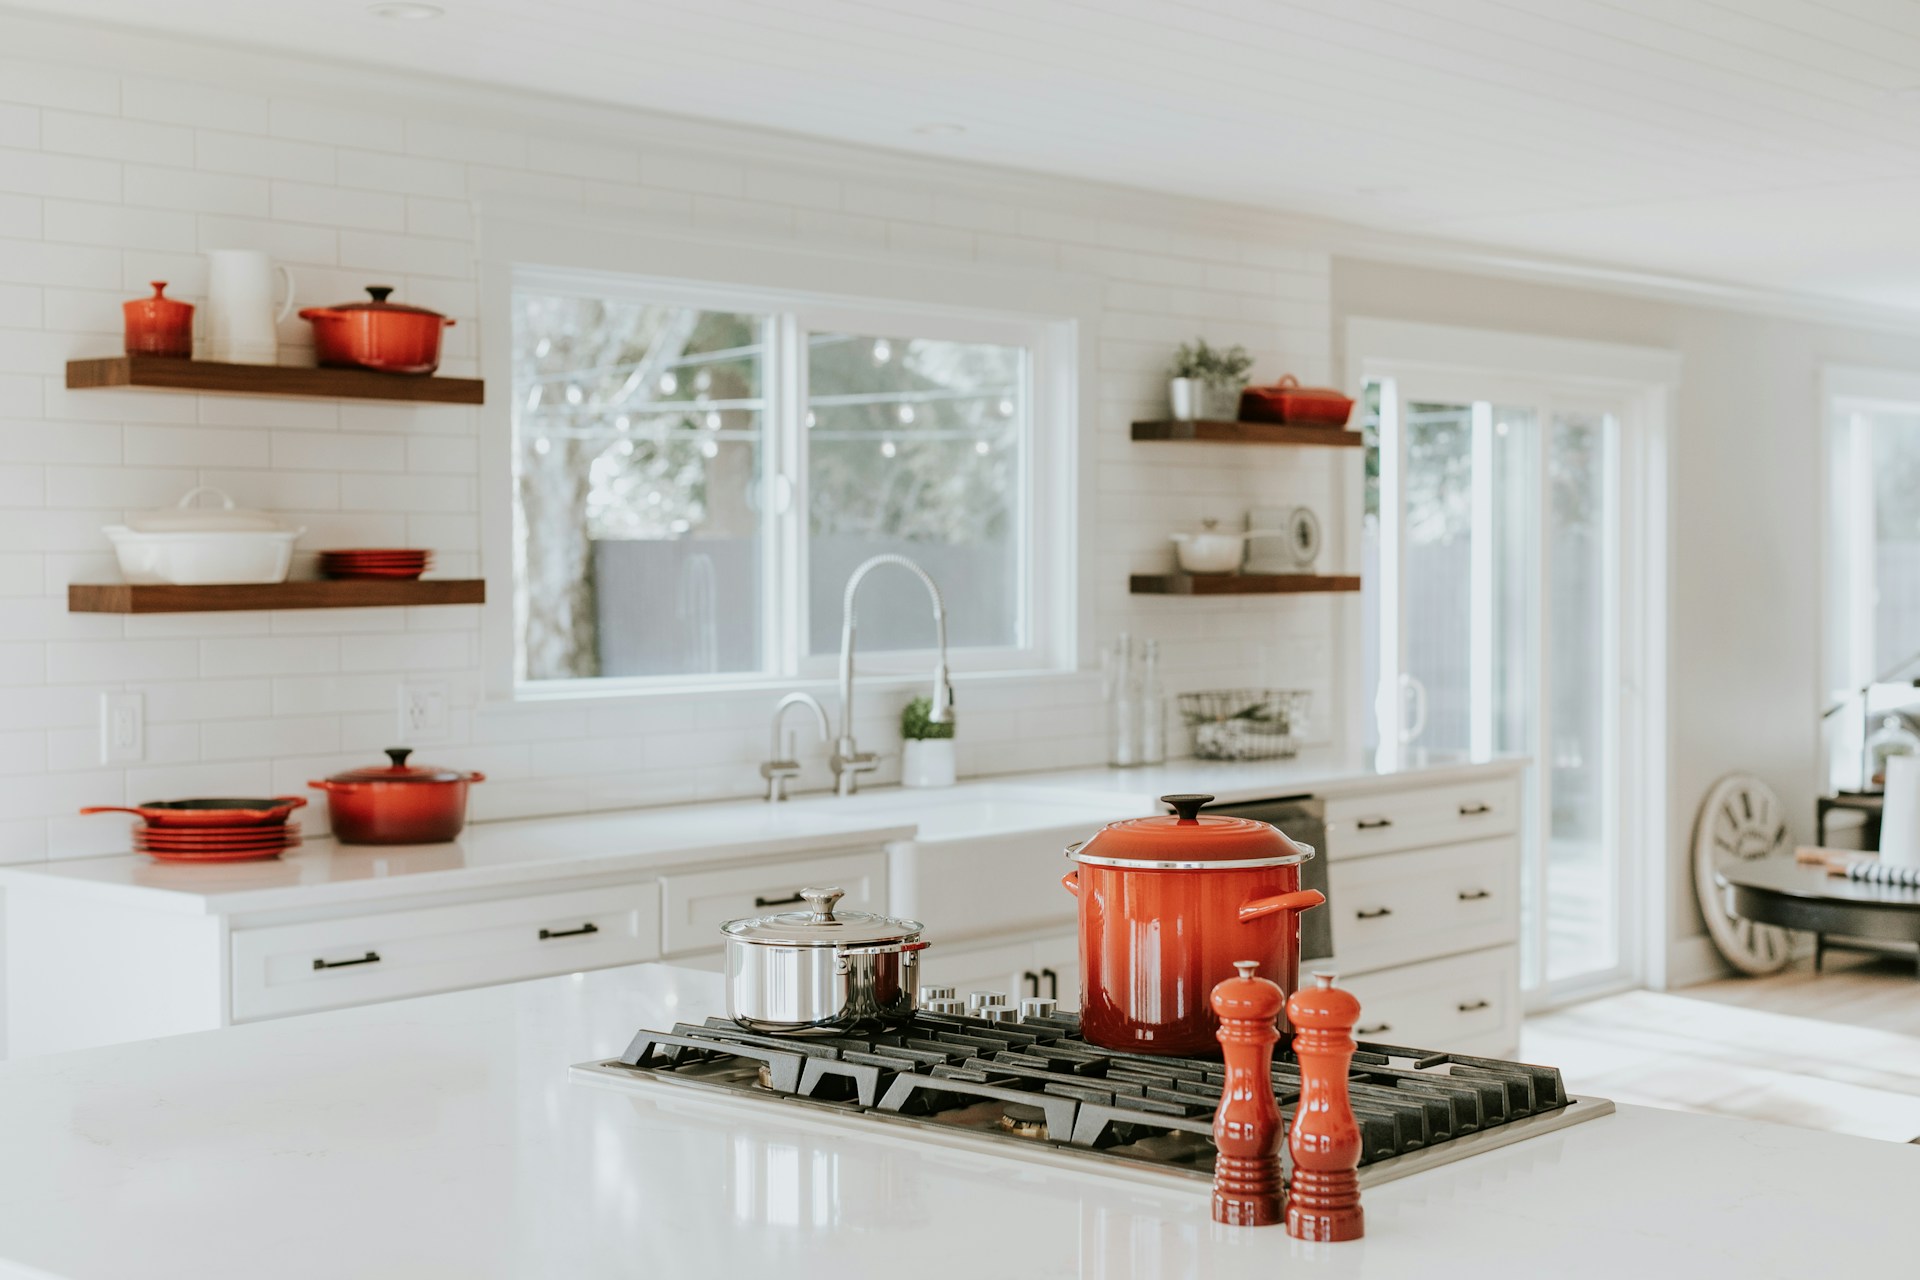
In the kitchen, replace old ceiling bulbs first, then add under-cabinet lighting where counters are shadowed. Under-cabinet LEDs often change how the room functions more than a decorative fixture swap. Choose a consistent color temperature and avoid bare strips that reflect as bright dots on stone or glossy counters.
In living rooms and bedrooms, do not over-light the space. Warm dimmable LEDs and lamps usually work better than one bright overhead light.
In bathrooms, prioritize vanity lighting. Good face-level light matters more than a bright ceiling fixture behind your head. Keep color temperature consistent across the vanity and ceiling so the room does not feel mismatched.
In garages and basements, brightness and coverage matter. Old bare bulbs create shadows. LED shop lights, garage panels, or high-output bulbs can improve visibility without a remodel. Add motion control if the space is frequently left on.
Outdoors, replace high-runtime porch and entry bulbs first. Use warm white for ambiance, brighter motion lighting for security, and weather-rated products where rain or cold matters. Decorative string lights and solar markers are useful, but they should not be expected to do the job of entry lighting.
Budget Mistakes to Avoid
Do not buy only by lowest price. The cheapest LED can be a poor deal if it flickers, fails early, looks harsh, or does not work with the dimmer. Look for useful specs: lumens, color temperature, dimmability, enclosed-fixture rating, wet or damp rating when needed, and warranty.
Do not assume brighter is better. Over-lighting a bedroom, dining room, or hallway makes the space uncomfortable and wastes energy. Use more light where tasks require it and softer light where people relax.
Do not mix bargain multipacks from different brands in one room. Even if the labels say 3000K, the actual color can vary. Buy enough matching bulbs for each visible group.
Do not keep patching a bad setup. If bulbs fail repeatedly, dimmers buzz, or strips peel every few weeks, diagnose the fixture, driver, heat, or installation instead of buying the same product again.
Bottom Line
Budget LED upgrades can cut energy use without a full remodel when you start with high-runtime lights, choose brightness by lumens, match color temperature to the room, check fixture compatibility, and add controls where lights are often left on.
The best sequence is simple: replace old incandescent and halogen bulbs first, fix rooms where light quality is poor, use controls to reduce wasted runtime, and upgrade fixtures only when bulbs cannot solve the real problem. That keeps the project affordable while still making the home feel brighter, calmer, and more intentional.
Sources
- [ENERGY STAR: Light Bulbs](https://www.energystar.gov/products/lighting_fans/light_bulbs)
- [U.S. Department of Energy: LED Lighting](https://www.energy.gov/energysaver/led-lighting)
- [IEEE Std 1789-2015: Recommended Practices for Modulating Current in High-Brightness LEDs](https://standards.ieee.org/ieee/1789/6180/)
Frequently Asked Questions
Which budget LED upgrade saves the most energy?
The biggest savings usually come from replacing incandescent or halogen bulbs that run for several hours per day. Kitchens, porch lights, garages, hallways, and living-area lamps are often better first targets than rarely used rooms.
Should I replace LED bulbs or the whole fixture?
Replace bulbs first when the fixture is safe, attractive, ventilated, and uses standard sockets. Replace the fixture when it traps heat, uses odd bulbs, creates glare, has failing sockets, or cannot put light where the room needs it.
Are smart bulbs worth it for energy savings?
Smart bulbs are worth it when schedules, dimming, motion routines, or remote shutoff reduce wasted runtime. They are not automatically more efficient than standard LEDs if they simply add features without changing habits.
Why do some LED bulbs fail early?
Early LED failure is often caused by heat, enclosed fixtures, incompatible dimmers, poor drivers, moisture, or low-quality products. Check fixture ratings and dimmer compatibility before blaming the bulb.