Budget LED Lighting Upgrades That Lower Energy Use Without Rewiring
A practical room-by-room guide to budget LED lighting upgrades that cut energy use without rewiring, including bulbs, plug-in controls, retrofit trims, and under-cabinet task lighting.

The best budget LED lighting upgrades are usually the boring ones: replace the bulbs that run the longest, add task light where shadows waste output, and fix controls so lights are not stuck at full brightness all evening. You do not need to rewire a house to cut lighting energy use. You need smarter swaps in the fixtures, lamps, and plug-in zones you already have.
Start with the lights that are on most often. A hallway bulb that runs six hours a night matters more than a guest room fixture that turns on twice a month. A kitchen ceiling light, porch light, bathroom vanity, garage socket, and living room lamps can account for a lot of daily runtime. Replacing those with efficient LEDs gives you the fastest payback because every hour of use starts costing less immediately.
[ENERGY STAR](https://www.energystar.gov/products/lighting_fans/light_bulbs) says certified LED bulbs use much less energy than incandescent bulbs while meeting tested performance standards for light output, color, and lifetime. The [U.S. Department of Energy](https://www.energy.gov/energysaver/lighting-choices-save-you-money) also points to lighting choices as one of the easiest household efficiency improvements. The trick is avoiding the budget mistakes that create flicker, glare, bad color, or short lifespan.
Start With High-Runtime Fixtures
The fastest-payback LED swaps are fixtures that run every day. Think kitchen ceiling lights, bathroom vanity bulbs, porch lights, entry lights, living room lamps, basement lights, and garage bulbs. If an old incandescent bulb runs three to six hours a day, replacing it with an LED can pay back quickly because the wattage drop is large.
For most rooms, use lumens instead of old wattage labels. A traditional 60W incandescent replacement is usually about 800 lumens. A 75W replacement is about 1,100 lumens. A 100W replacement is about 1,600 lumens. If you simply buy the brightest multipack, the room may feel harsh and still not work better.
Choose 2700K for bedrooms, living rooms, dining rooms, and evening lamps. Choose 3000K for kitchens, bathrooms, and entryways when you want warm but cleaner light. Choose 3500K to 4000K for garages, laundry rooms, closets, and utility spaces. Avoid mixing random color temperatures in one room. A budget upgrade looks intentional when the color temperature is consistent.
If you are replacing bulbs in enclosed globes, porch fixtures, or flush mounts, check the label for enclosed-fixture or damp-location ratings. LEDs run cooler than incandescent bulbs at the bulb surface, but their drivers still need heat management. A cheap LED trapped inside a sealed globe can fail early if it is not rated for that environment.
For a safe replacement checklist, see our guide on [how to replace LED lights yourself](/blog/how-to-replace-led-light-yourself-safe-diy-checklist).
Use Plug-In Controls Before Adding More Lights
Controls can cut energy use without changing a single wire. Smart plugs, plug-in dimmers, timers, and motion-sensor adapters are low-cost ways to stop lights from running when nobody needs them.
Use smart plugs for table lamps, floor lamps, holiday lights, and hard-to-reach accent lights. Use schedules for porch lamps and living room lamps. Use motion sensors in closets, pantries, laundry rooms, basements, garages, and mudrooms. Use plug-in dimmers where a lamp is too bright at night.
The goal is not to make every light smart. The goal is to automate the fixtures people forget. A porch light that turns off at sunrise, a garage light that shuts off after motion stops, and a lamp that dims in the evening can save energy while making the house easier to use.
Check compatibility before buying dimming products. Some LED bulbs buzz, shimmer, or drop out at low levels on poor dimmers. The [IEEE 1789 recommended practice](https://standards.ieee.org/ieee/1789/6180/) addresses LED flicker and temporal light modulation because unstable light can affect visual comfort for some people. In practical terms, test the bulb at full, mid, and low output. If it flickers or buzzes, change the bulb, dimmer, or both.
Fix Shadows With Task Lighting
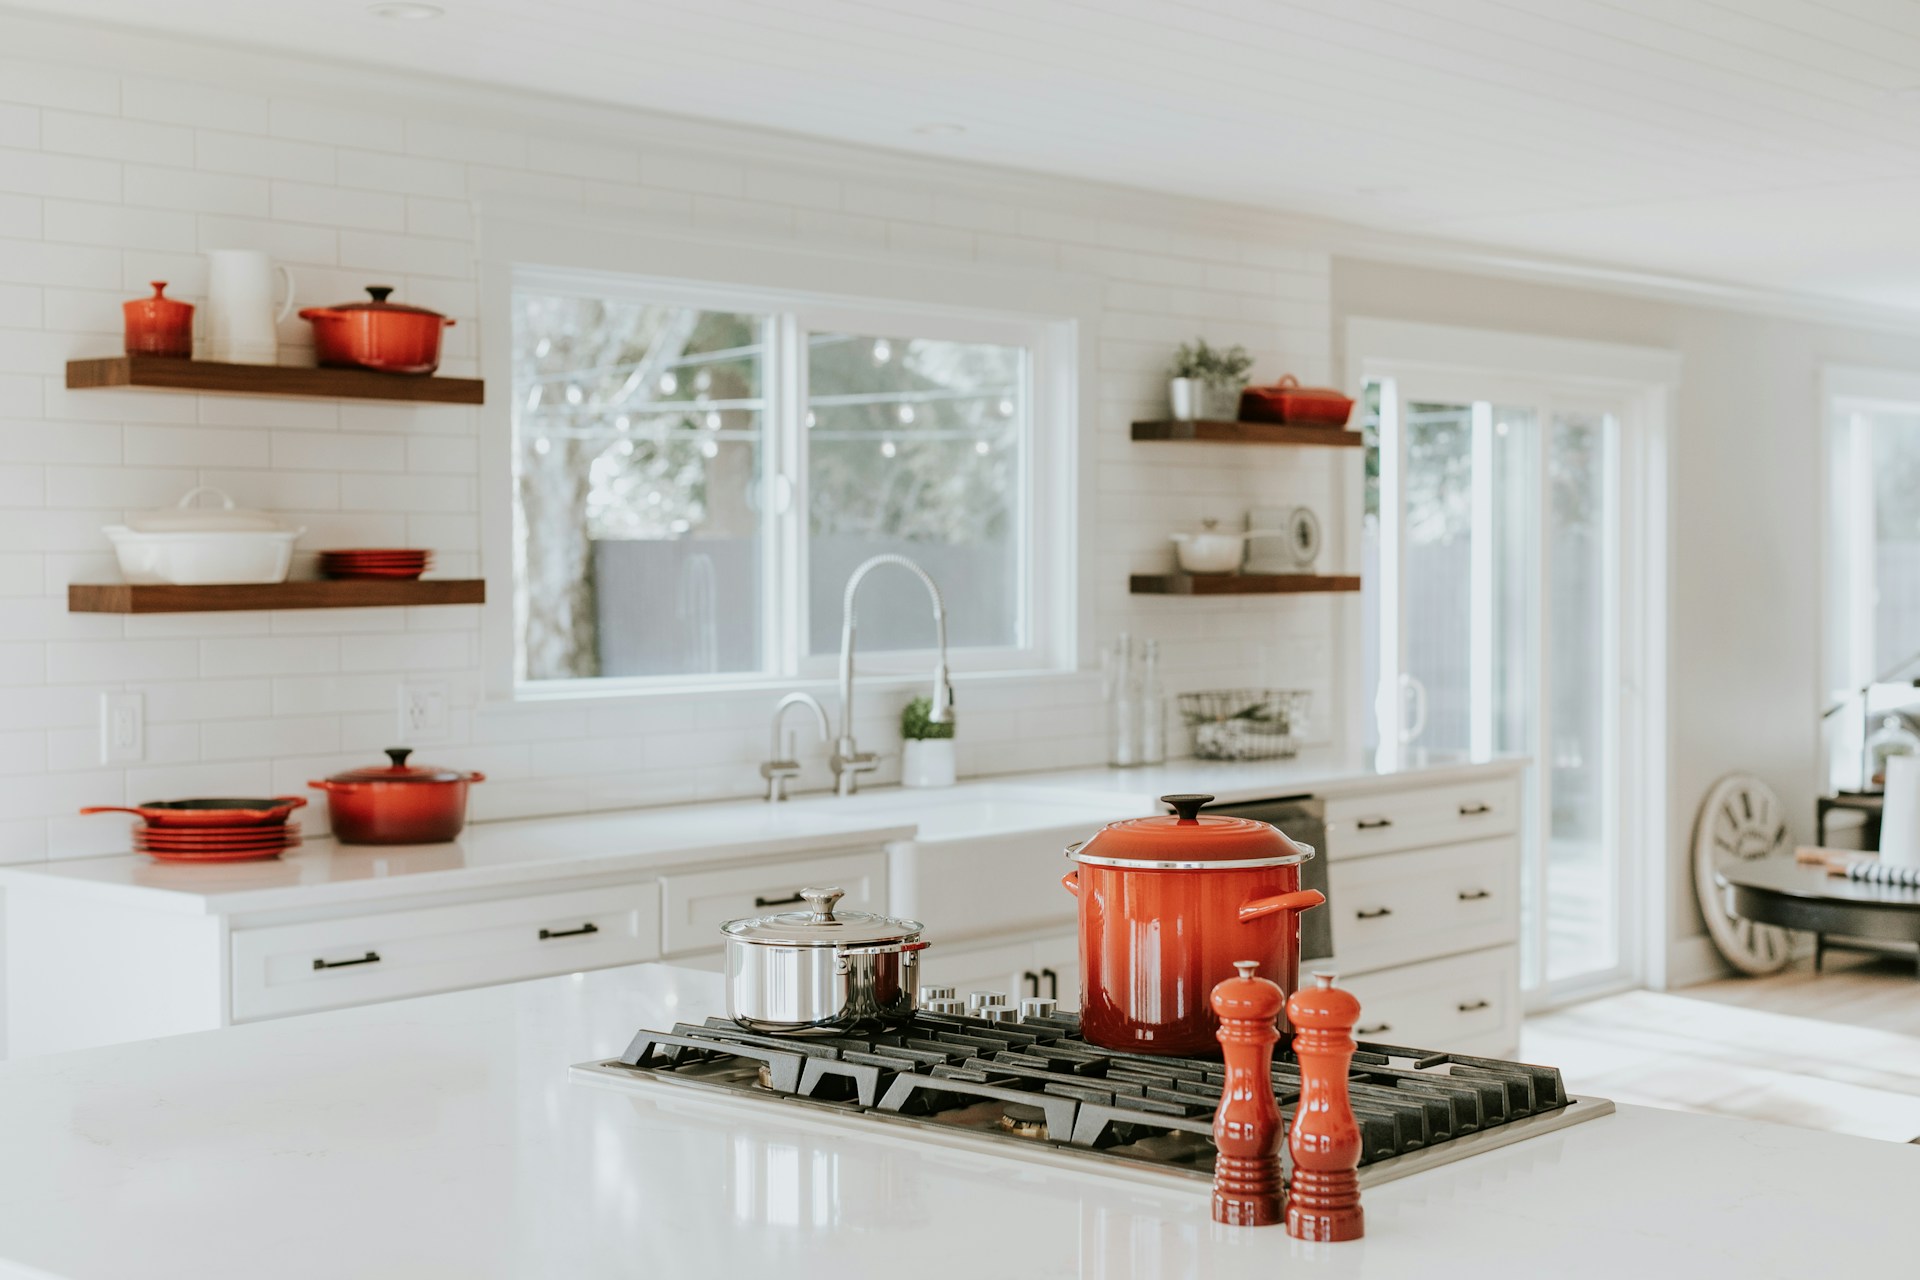
Many rooms feel dark because light is in the wrong place, not because the bulb is too weak. Kitchens are the classic example. A ceiling fixture behind you casts your own shadow onto the counter. Adding under-cabinet LED task lighting often improves usefulness more than doubling the overhead lumens.
Budget task lighting options include plug-in LED bars, adhesive LED strips in diffuser channels, rechargeable puck lights, and slim task lamps. Plug-in bars are the most reliable for kitchens and workbenches. LED strips can look clean if they are hidden in aluminum channels with frosted diffusers. Rechargeable puck lights are acceptable for renters, shelves, pantries, and low-use spots, but they are not the best choice for daily food prep.
Under-cabinet lighting should usually be 3000K to 4000K with good diffusion. Warm 2700K can look cozy, but it may make counters feel too amber for cooking. Cool 5000K can look clinical in a home kitchen. If you prepare food under the light, look for 90+ CRI so colors look natural.
The cheap-looking mistake is visible dots. Bare LED tape stuck to the front lip of a cabinet usually creates glare and reflections. Mount strips toward the cabinet front but aim the light down through a diffuser, or use a purpose-built light bar.
For a deeper kitchen plan, use our [under-cabinet LED lighting DIY installation guide](/blog/under-cabinet-led-lighting-diy-installation-2026).
Choose Retrofit Bulbs Before Replacing Fixtures
Replacing a whole fixture is sometimes worth it, but it is not the first move for most budget projects. If the fixture is safe, attractive enough, and compatible with LED bulbs, a retrofit bulb or trim often delivers most of the savings for far less money.
Use LED bulbs when the existing fixture has a standard socket, enough airflow, and a shade that does not trap too much heat. Use listed recessed retrofit trims when old recessed cans look dated, leak air, or need better beam control. Use plug-in shop lights when a garage or basement needs more even coverage than a single socket can provide.
Replace the whole fixture when the socket is damaged, the shade creates severe glare, the fixture is not rated for the location, or the design forces poor light distribution. For example, an old bathroom vanity bar with exposed bulbs may be better solved with a new fixture that spreads light evenly across faces. A porch fixture with cracked seals should be replaced, not just relamped.
Pay attention to dimmers. A fixture can be fine while the old wall dimmer is the problem. If multiple LED bulbs flicker on the same dimmer but work in a regular lamp, the dimmer likely needs to be replaced with an LED-compatible model.
Room-by-Room Budget Upgrade Plan
In the kitchen, start with the ceiling bulbs and under-cabinet task lighting. Use 3000K for a warm residential look or 3500K to 4000K for cleaner task light. Do not rely on one bright ceiling fixture to solve counter shadows.
In the living room, replace mismatched lamp bulbs with 2700K dimmable LEDs. Add smart plugs or plug-in dimmers to the lamps used most often. A room usually feels better with three moderate light sources than one harsh overhead fixture.
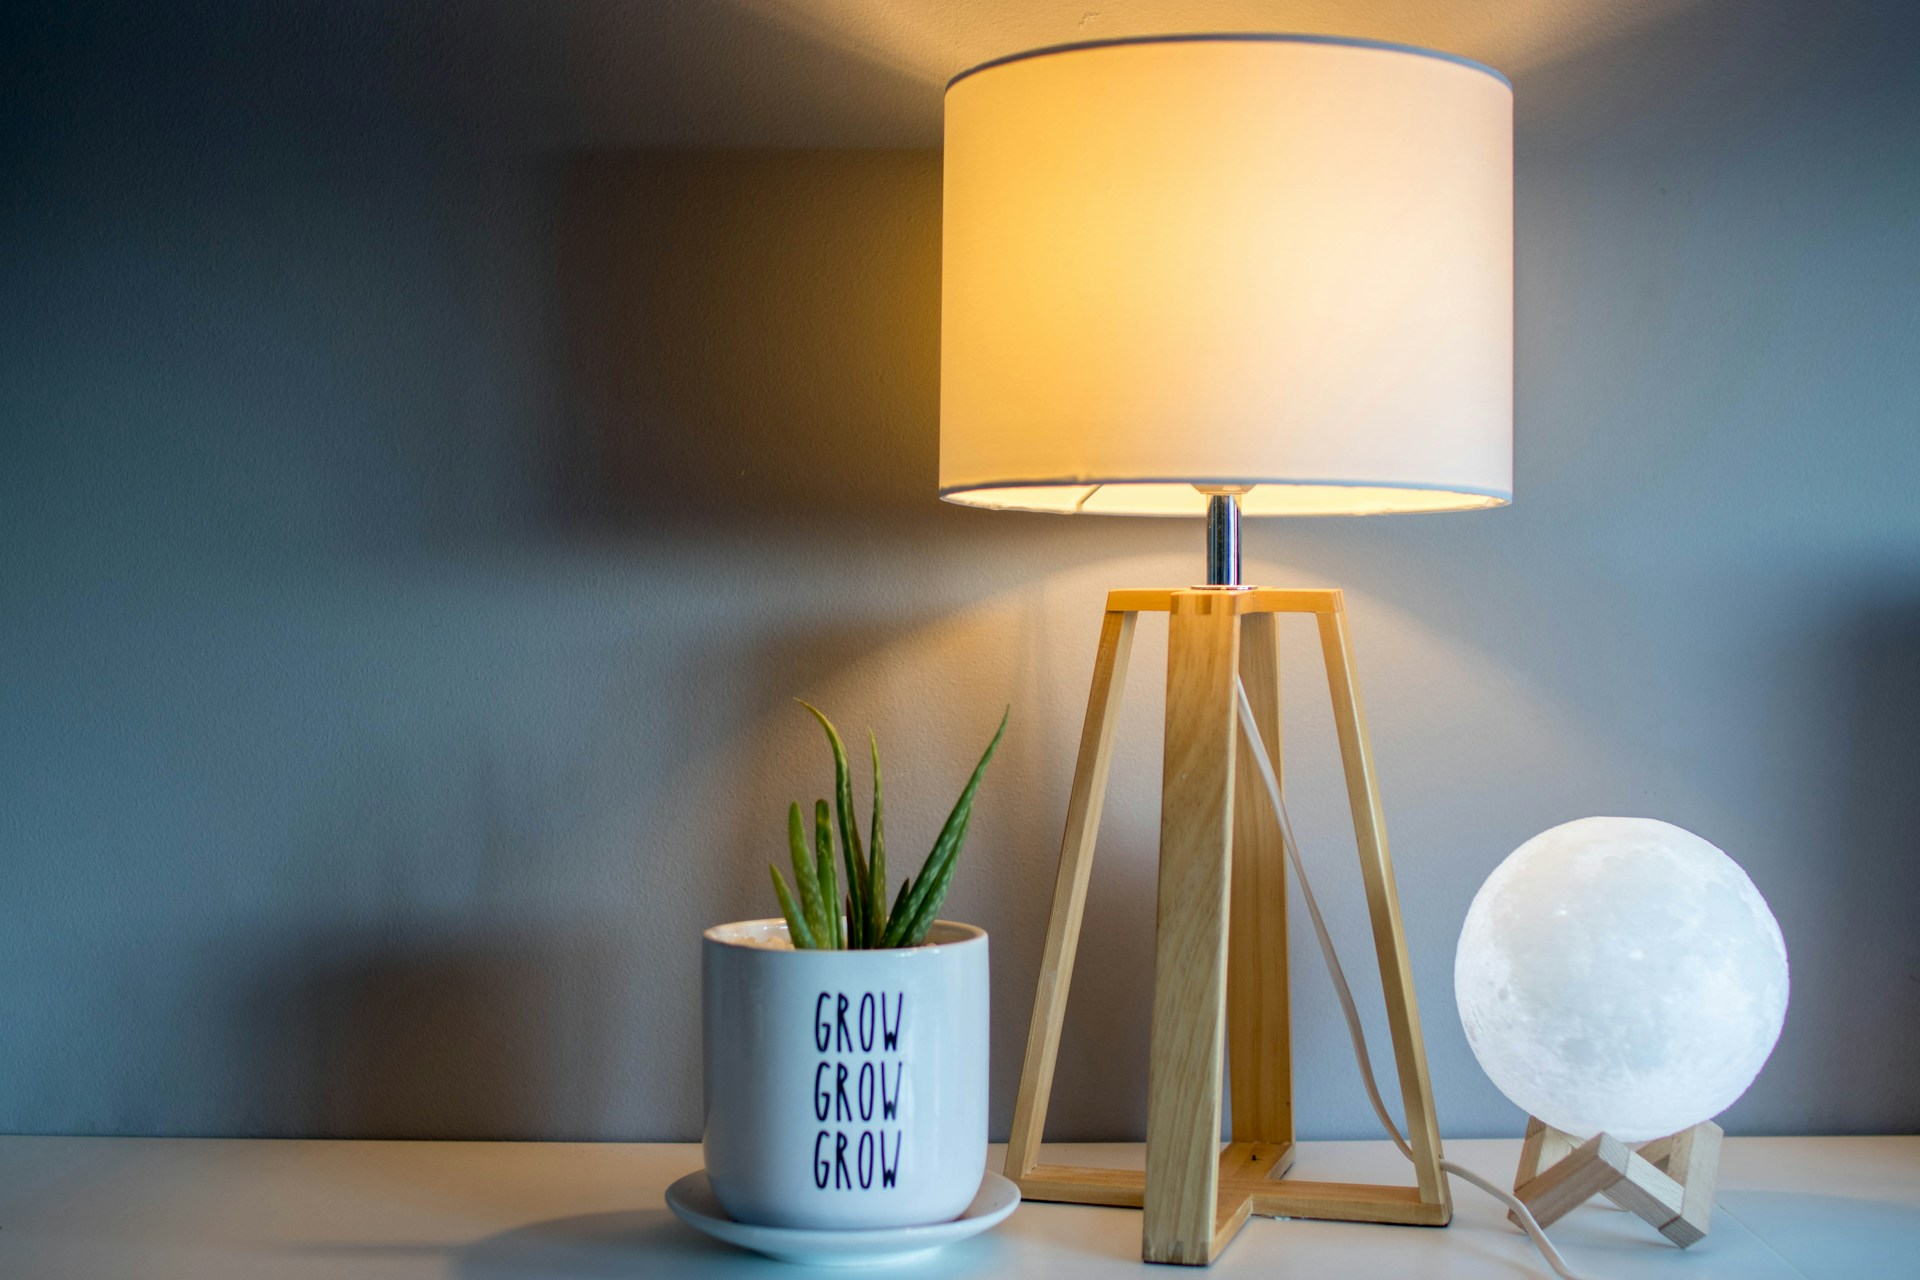
In bedrooms, prioritize dimming and warm color temperature. Use 2700K bulbs in bedside lamps and avoid high-output daylight bulbs at night. If the ceiling fixture is the only light, add a low-cost plug-in lamp before increasing bulb brightness.
In bathrooms, use 3000K to 3500K around the vanity with good color quality. Avoid deep shadows from overhead-only lighting. If the fixture accepts standard bulbs, a better LED bulb may be enough.
In garages and basements, use 3500K to 4000K and spread the light across the space. A cheap high-output screw-in garage bulb can work for storage, but plug-in shop lights are usually better for benches and repeated DIY work. See our guide to [$9 LED garage lights](/blog/cheap-led-garage-light-worth-it) before buying the brightest product online.
Outside, replace porch and entry bulbs first because they often run for long hours. Use damp- or wet-rated products as required, and consider dusk-to-dawn bulbs or timers.
What to Buy on a $25, $50, or $100 Budget
With $25, replace the highest-runtime bulbs in one or two rooms. Buy consistent Kelvin, proper fixture ratings, and ENERGY STAR-certified bulbs when available. Skip novelty features unless you need them.
With $50, combine efficient bulbs with one control upgrade. That might mean living room LEDs plus smart plugs, porch bulbs plus a timer, or bedroom lamps plus plug-in dimmers.
With $100, solve one complete room. For a kitchen, that could be new ceiling LEDs plus a plug-in under-cabinet bar. For a living room, it could be consistent dimmable bulbs, two smart plugs, and one accent lamp. For a garage, it could be two plug-in LED shop lights and a motion sensor.
Spend money where the light is used, not where the product looks most exciting. RGB strips, app features, and ultra-high lumen claims are often less valuable than stable warm light, clean diffusion, and automatic shutoff.
The Bottom Line
Budget LED lighting upgrades lower energy use fastest when you focus on high-runtime fixtures, better controls, and task lighting where shadows waste output. Start with bulbs and plug-in controls. Add under-cabinet or shop lighting only where placement improves the room. Replace whole fixtures only when the existing fixture is unsafe, ugly, incompatible, or poorly positioned.
The best no-rewire plan is simple: consistent color temperature, enough lumens, low flicker, correct location ratings, and controls that prevent wasted runtime.
---
Frequently Asked Questions
Which LED upgrade pays back fastest?
Replacing incandescent bulbs in high-runtime fixtures usually pays back fastest. Start with kitchen lights, porch lights, bathroom fixtures, living room lamps, basement lights, and garage lights that run every day.
Do I need to replace fixtures to save energy?
No. If the fixture is safe and compatible, LED bulbs, retrofit trims, plug-in controls, and task lighting can reduce energy use without replacing the fixture or rewiring the room.
Are smart bulbs worth it for saving electricity?
Smart bulbs are worth it when schedules, dimming, or remote shutoff prevent lights from staying on unnecessarily. If you only need lower wattage, a regular ENERGY STAR-certified LED bulb is usually cheaper.
Why do budget LED bulbs flicker?
Common causes include low-quality drivers, incompatible dimmers, mixed bulb types on one circuit, loose connections, or poor power supplies. Test the bulb in a regular lamp first, then check the dimmer if flicker only happens in one fixture.