Budget LED Lighting Upgrades That Make the Biggest Difference in Older Homes
A practical room-by-room guide to budget LED lighting upgrades for older homes, including bulbs, dimmers, fixtures, task lights, and flicker fixes.

Budget LED lighting upgrades can change an older home faster than almost any cosmetic project. Old houses often have too few fixtures, dim rooms, yellowed shades, worn switches, outdated dimmers, and bulbs chosen by wattage instead of useful light. The result is familiar: a kitchen that feels gloomy, a hallway that feels unsafe, a bathroom mirror that casts shadows, and a living room that needs three lamps just to feel usable.
The best upgrade is not replacing every fixture at once. It is fixing the rooms where poor light creates the most daily friction. Start with high-use bulbs, then dimmer compatibility, then task lighting in shadowed zones, then a few strategic fixture upgrades. That order keeps the project affordable and prevents the common mistake of buying attractive fixtures that still do not solve the lighting problem.
[ENERGY STAR](https://www.energystar.gov/products/lighting_fans/light_bulbs) recommends comparing LED products by lumens, color appearance, lifetime, and tested performance instead of relying on old incandescent wattage habits. The [U.S. Department of Energy](https://www.energy.gov/energysaver/led-lighting) notes that LED lighting uses much less energy and lasts longer than incandescent lighting. The [IEEE 1789 recommended practice](https://standards.ieee.org/ieee/1789/6180/) is worth knowing because low-quality drivers and incompatible dimmers can create visible flicker or shimmer, especially in older homes with mixed controls.
Start With the Rooms That Feel Hard to Use
Walk through the house at night and notice where you slow down, squint, or turn on extra lamps. Older homes often have one ceiling fixture in the center of the room, which creates shadows exactly where people work: counters, sinks, desks, closets, stair landings, and reading chairs. A better plan starts with use, not decoration.
The first priority is usually the kitchen, bathroom, stairs, hallway, laundry area, and entry. These rooms benefit most from clearer light because they involve knives, hot pans, wet floors, grooming, carrying laundry, unlocking doors, or stepping between floor levels. Bedrooms and living rooms matter too, but comfort lighting can be improved after safety and task zones are fixed.
Do not judge the room by fixture count alone. A room can have plenty of bulbs and still feel bad if the color temperature is mismatched, the shade blocks too much light, or the bulb points light in the wrong direction. Before buying fixtures, test better bulbs in the sockets you already have.
Replace the Longest-Running Bulbs First
The cheapest budget LED lighting upgrades are the bulbs that run the most hours. Porch lights, kitchen ceiling lights, hallway lamps, basement lights, bathroom vanity bulbs, and living room lamps often deliver the fastest payback. If an incandescent or halogen bulb is on every evening, replacing it with an efficient LED is an easy win.
Choose by lumens, not watts. An old 60-watt incandescent habit usually means about 800 lumens, while an old 100-watt habit usually means about 1600 lumens. But older homes vary. A fixture with a dark shade may need a higher-lumen bulb, while a bare bulb in a small hall may need less output and better diffusion.
Color temperature matters as much as brightness. For most older homes, 2700K to 3000K keeps rooms warm without looking dim. Kitchens and bathrooms can work well at 3000K to 3500K if the finishes are clean and bright. Avoid mixing cool blue-white bulbs with warm lamps in the same room unless there is a specific reason.
Fix Old Dimmers Before Blaming the Bulbs
One of the most common LED problems in older homes is flicker after a bulb swap. The bulb may be fine. The dimmer may be the issue.
Many older dimmers were designed for incandescent loads. LEDs draw less power and use electronic drivers, so a dimmer that worked perfectly for decades can suddenly create flicker, buzzing, limited dimming range, or lights that never fully turn off. If a light flickers only when dimmed, starts blinking at low levels, or hums from the switch, check whether the dimmer is LED-compatible.
When replacing a dimmer, match the dimmer type to the bulb or fixture instructions. Also check the minimum and maximum load. A dimmer controlling one small LED bulb may not meet the minimum load of an older control. For multi-bulb fixtures, use the same bulb model in every socket to reduce mismatch.
If the switch box wiring is confusing, damaged, ungrounded, crowded, or old enough to raise safety questions, call an electrician. Budget upgrades should not turn into risky wiring work.
Add Task Lighting Where Old Fixtures Miss the Work
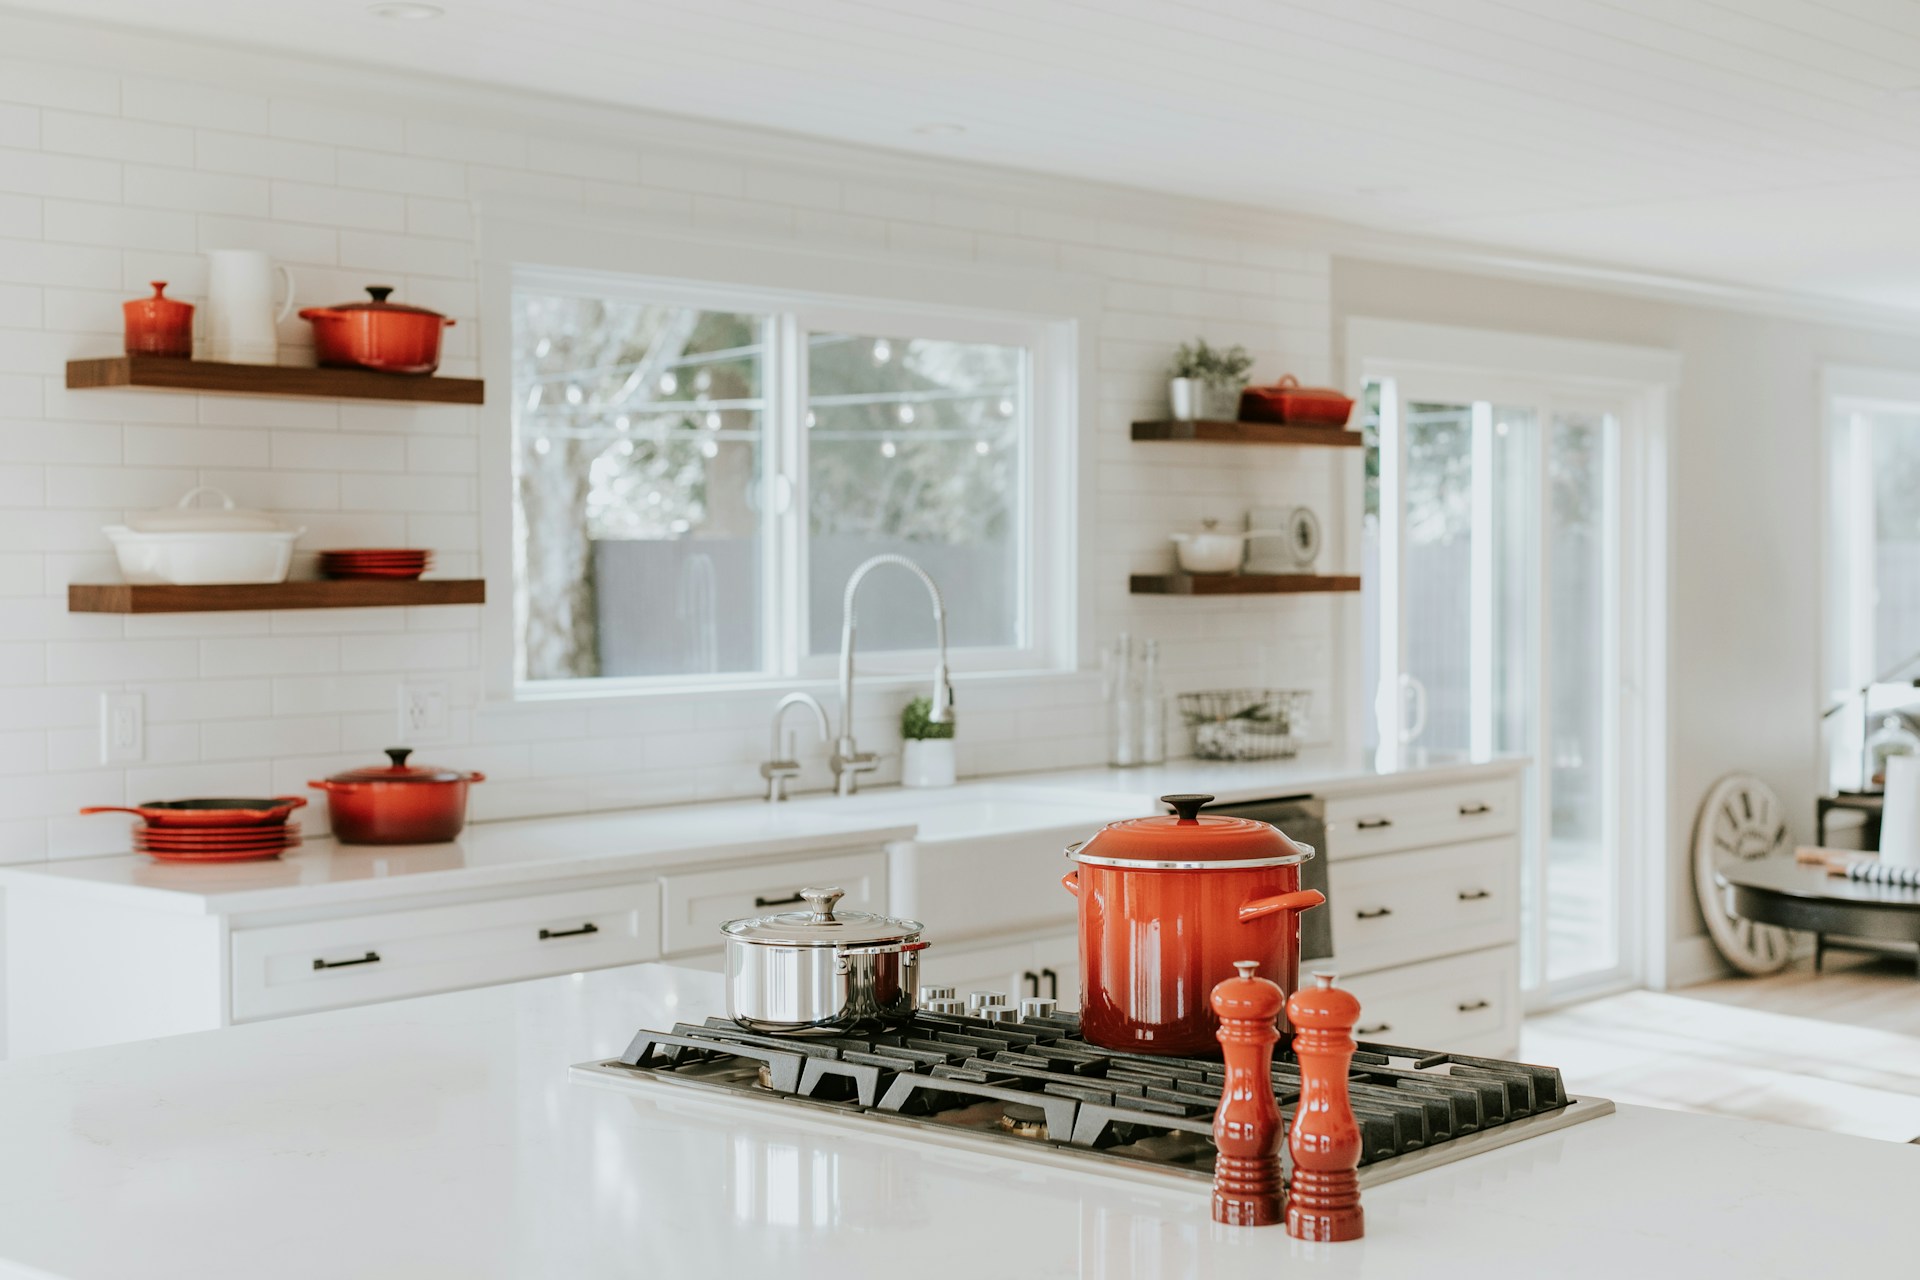
Older kitchens often have one ceiling fixture and several dark counters. Swapping the ceiling bulb helps, but it does not always put light where food prep happens. Under-cabinet LED bars or tape in diffuser channels can make a kitchen feel dramatically newer without a remodel.
Plug-in light bars are the easiest option. They work well for renters or homeowners who do not want hardwired work. Choose warm or neutral white, avoid visible glare, and route cords cleanly. For a cleaner finish, use low-profile bars or LED tape inside aluminum channels with diffusers.
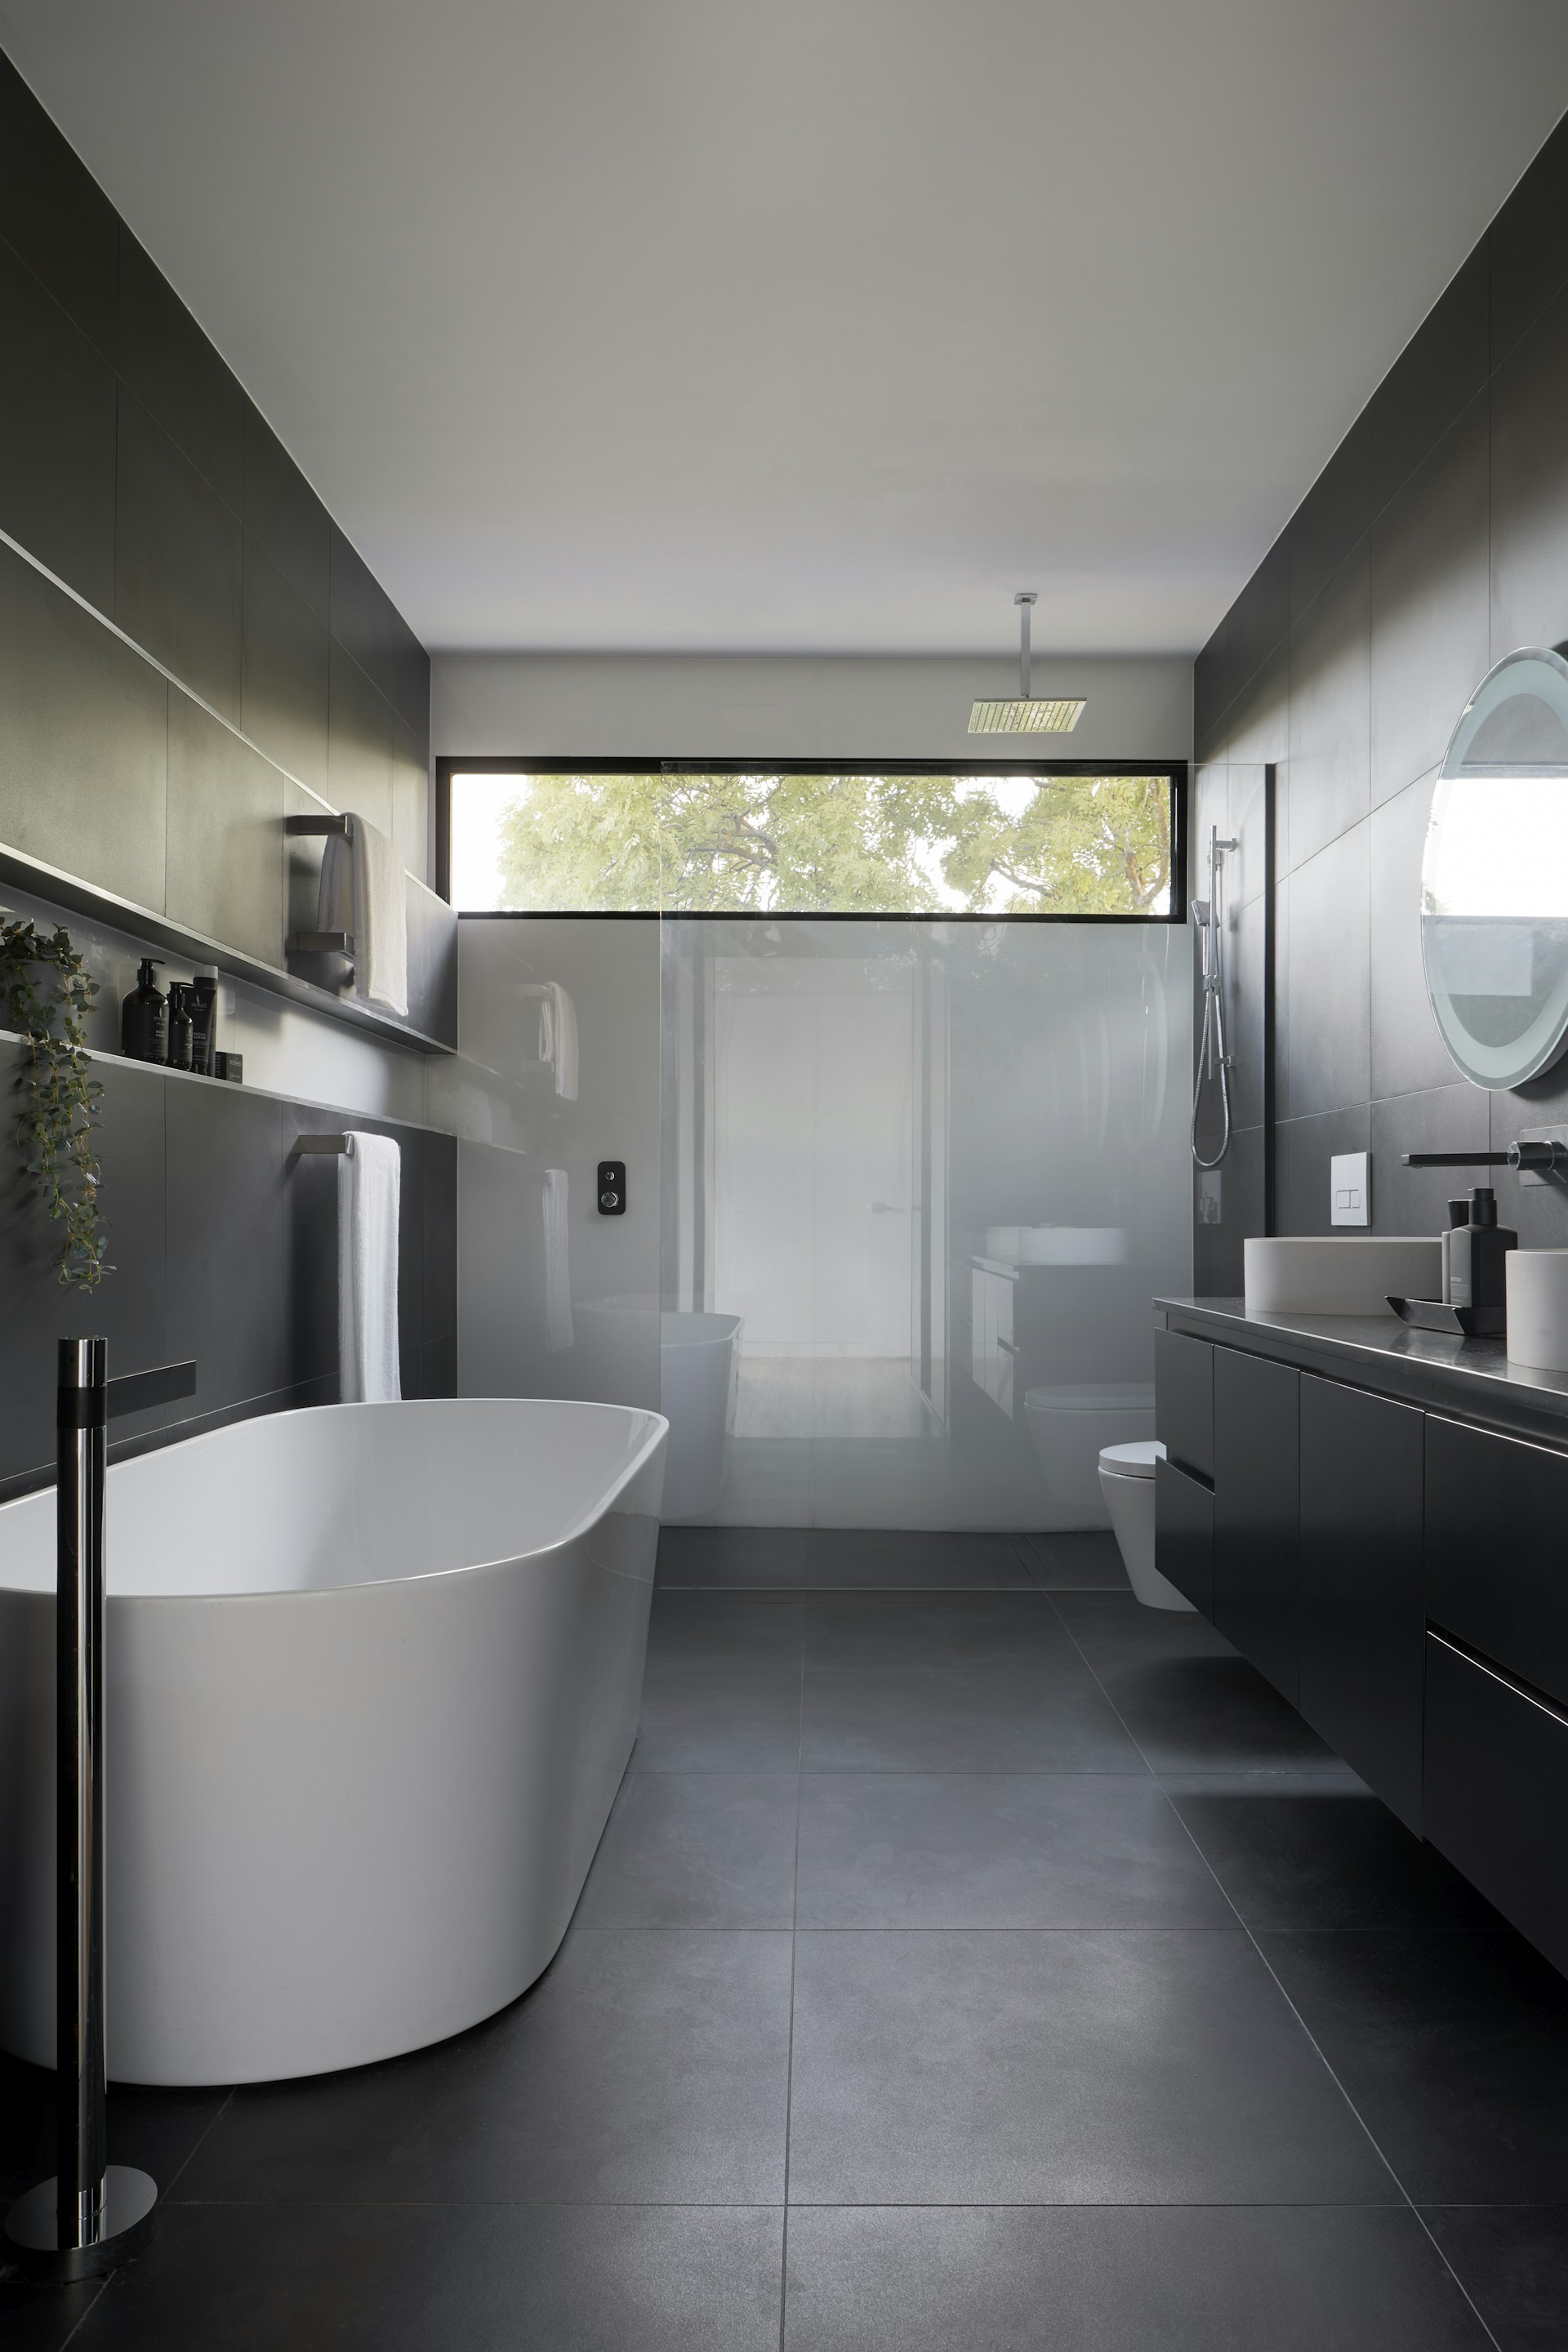
Bathrooms have the same issue. A ceiling light behind your head creates shadows at the mirror. Better vanity bulbs, side lighting, or a mirror light can make grooming easier and safer. In older bathrooms, choose damp-rated fixtures where appropriate and avoid cheap bulbs with poor color quality. A high color rendering index can make skin tones, makeup, and clothing colors look more accurate.
For more kitchen-specific troubleshooting, see our guide to [under-cabinet LED lights flicker problems](/blog/under-cabinet-led-lights-flicker-fixes). For small project ideas, compare these upgrades with our [$100 LED upgrade projects](/blog/100-led-upgrade-projects-small-diy-swaps).
Make Hallways, Stairs, and Entries Easier to Navigate
Hallways and stairs are where small lighting upgrades feel bigger than their price. A brighter, warmer LED in an existing fixture may be enough, but many older homes also need better control placement or low-level night lighting.
For stairs, the goal is to reveal every tread edge without glare. A strong overhead bulb can still leave uneven shadows. Consider LED step lights, plug-in motion night lights near landings, brighter hallway fixtures, or low-profile wall lights if the wiring already supports them.
Entries need light at the lock, the floor, and the drop zone. A porch or entry fixture with the right LED bulb can make keys, packages, shoes, and steps easier to see. If the entry light is on for long hours, LEDs are especially useful because runtime matters.
Motion sensors can help in utility spaces, closets, basements, and laundry rooms, but they should be chosen carefully. A sensor that turns off too quickly can be irritating. A sensor placed where it cannot see movement will feel broken. For small spaces, a simple LED fixture with an integrated occupancy sensor can be better than adding smart controls.
Use Lamps to Fix Rooms Without Rewiring
Living rooms and bedrooms in older homes often lack overhead lighting or have a single harsh fixture. Lamps are the fastest budget fix. Instead of one very bright lamp, use two or three lower-glare sources: a reading lamp near the chair, a table lamp near the sofa, and a warm floor lamp in a dark corner.
LED bulbs make this flexible. Use 2700K warm bulbs for relaxing areas, dimmable bulbs where you want evening control, and higher-lumen bulbs only where people read or work. If a lamp shade is dark or yellowed, replacing the shade may improve the room as much as replacing the bulb.
Smart plugs can add scheduling without replacing old switches. This is useful for lamps, seasonal lights, and rooms where the wall switch does not control the right outlet. Smart bulbs can work too, but they are best when people will actually use the app, voice control, or scenes. For many older homes, a good LED bulb and a simple plug-in timer are enough.
For no-rewire projects, use our guide to [budget LED lighting upgrades without rewiring](/blog/budget-led-lighting-upgrades-without-rewiring).
Do Not Ignore Fixture Limits and Heat
Older fixtures can be beautiful, but they may have limits. Check the fixture label before installing brighter bulbs. Even though LEDs use less wattage, they still create heat at the driver and base. Enclosed fixtures need bulbs rated for enclosed use. Small glass globes, old ceiling cans, and tight sconces can shorten bulb life if heat cannot escape.
Also check bulb shape. Some old fixtures need globe bulbs, candelabra bulbs, reflector bulbs, or short A-shape bulbs to distribute light correctly. A bulb that technically fits may look bad if it sticks out, shines sideways, or creates a bright spot through the shade.
For recessed cans, make sure the replacement is compatible with the housing and dimmer. Retrofit LED trims can improve both appearance and light distribution, but they need to be installed according to the product instructions. If you see brittle wiring, damaged housings, overheating marks, or unknown modifications, stop and get qualified help.
A Practical $150 Upgrade Plan
If you want the biggest improvement without overthinking it, use a simple budget plan.
First, replace the five longest-running incandescent or halogen bulbs with ENERGY STAR certified LED bulbs where possible. Second, replace any problem dimmer that causes flicker with an LED-compatible dimmer matched to the load. Third, add under-cabinet or counter task lighting in the kitchen. Fourth, improve one dark hallway, stair, or entry zone. Fifth, add one warm lamp or better bulb in the room where you relax most often.
This sequence works because it fixes energy waste, comfort, task visibility, and safety in a balanced way. It also gives you time to test brightness and color before buying a houseful of matching bulbs. Buy a few bulbs first, live with them for several nights, then standardize.
Bottom Line
Budget LED lighting upgrades make the biggest difference in older homes when they solve real problems: dim work surfaces, unsafe stairs, harsh fixtures, mismatched bulbs, old dimmers, and rooms with too few light sources. Start with high-use bulbs and problem controls, then add task lighting and better layers where the existing wiring falls short.
The goal is not to make an old home look like a showroom. The goal is to make it easier to cook, read, clean, enter, move around, and relax every night.
Sources
- [ENERGY STAR: Light Bulbs](https://www.energystar.gov/products/lighting_fans/light_bulbs)
- [U.S. Department of Energy: LED Lighting](https://www.energy.gov/energysaver/led-lighting)
- [IEEE Std 1789-2015: Recommended Practices for Modulating Current in High-Brightness LEDs](https://standards.ieee.org/ieee/1789/6180/)
Frequently Asked Questions
What budget LED lighting upgrades should older homes get first?
Start with the bulbs that run longest, then fix incompatible dimmers, add task lighting in kitchens and bathrooms, and improve dark stairs, entries, and hallways. These upgrades usually improve daily use more than decorative fixture swaps.
Why do LED bulbs flicker in older houses?
LED bulbs often flicker in older houses because the dimmer is not LED-compatible, the load is too low, bulbs are mismatched, or the LED driver is poor quality. If flicker happens mainly when dimmed, the dimmer is the first thing to check.
What LED color temperature is best for older homes?
Most older homes look best with 2700K to 3000K LEDs in living areas, bedrooms, halls, and entries. Kitchens and bathrooms can use 3000K to 3500K if you want cleaner task light without making the room feel cold.
Can I upgrade old lighting without rewiring?
Yes. Bulb swaps, plug-in lamps, under-cabinet light bars, smart plugs, motion night lights, and compatible dimmers can improve many rooms without new wiring. Call an electrician for damaged wiring, new hardwired fixtures, wet-location work, or anything inside the panel.