Budget Kitchen Lighting Upgrades Under $100 That Actually Help
A practical guide to budget kitchen lighting upgrades under $100, including under-cabinet LEDs, puck lights, better bulbs, dimmers, color temperature, and what to skip.

Budget kitchen lighting upgrades under $100 work best when they solve one specific problem: dark counters, harsh overhead light, shadowy sink work, weak pantry visibility, or a kitchen that looks colder than it needs to. The mistake is buying one flashy fixture or a random LED strip kit and hoping it changes the whole room. A better budget plan layers small fixes where the kitchen actually needs light.
The highest-impact upgrades are usually under-cabinet task lighting, better LED bulbs in existing fixtures, plug-in or battery puck lights for dead zones, and a compatible dimmer if the current switch supports a dimmable fixture. You do not need to remodel the ceiling to make a kitchen easier to cook in.
[ENERGY STAR](https://www.energystar.gov/products/lighting_fans/light_bulbs) recommends comparing LED bulbs by lumens, color appearance, lifetime, and tested performance instead of old wattage habits. The [U.S. Department of Energy](https://www.energy.gov/energysaver/led-lighting) notes that LEDs use much less energy and last longer than incandescent lighting, which makes them a sensible first step for high-use kitchens. The [IEEE 1789 recommended practice](https://standards.ieee.org/ieee/1789/6180/) is relevant because cheap drivers and incompatible dimmers can create visible flicker, shimmer, or eye strain in task areas.
Start With the Counter, Not the Ceiling
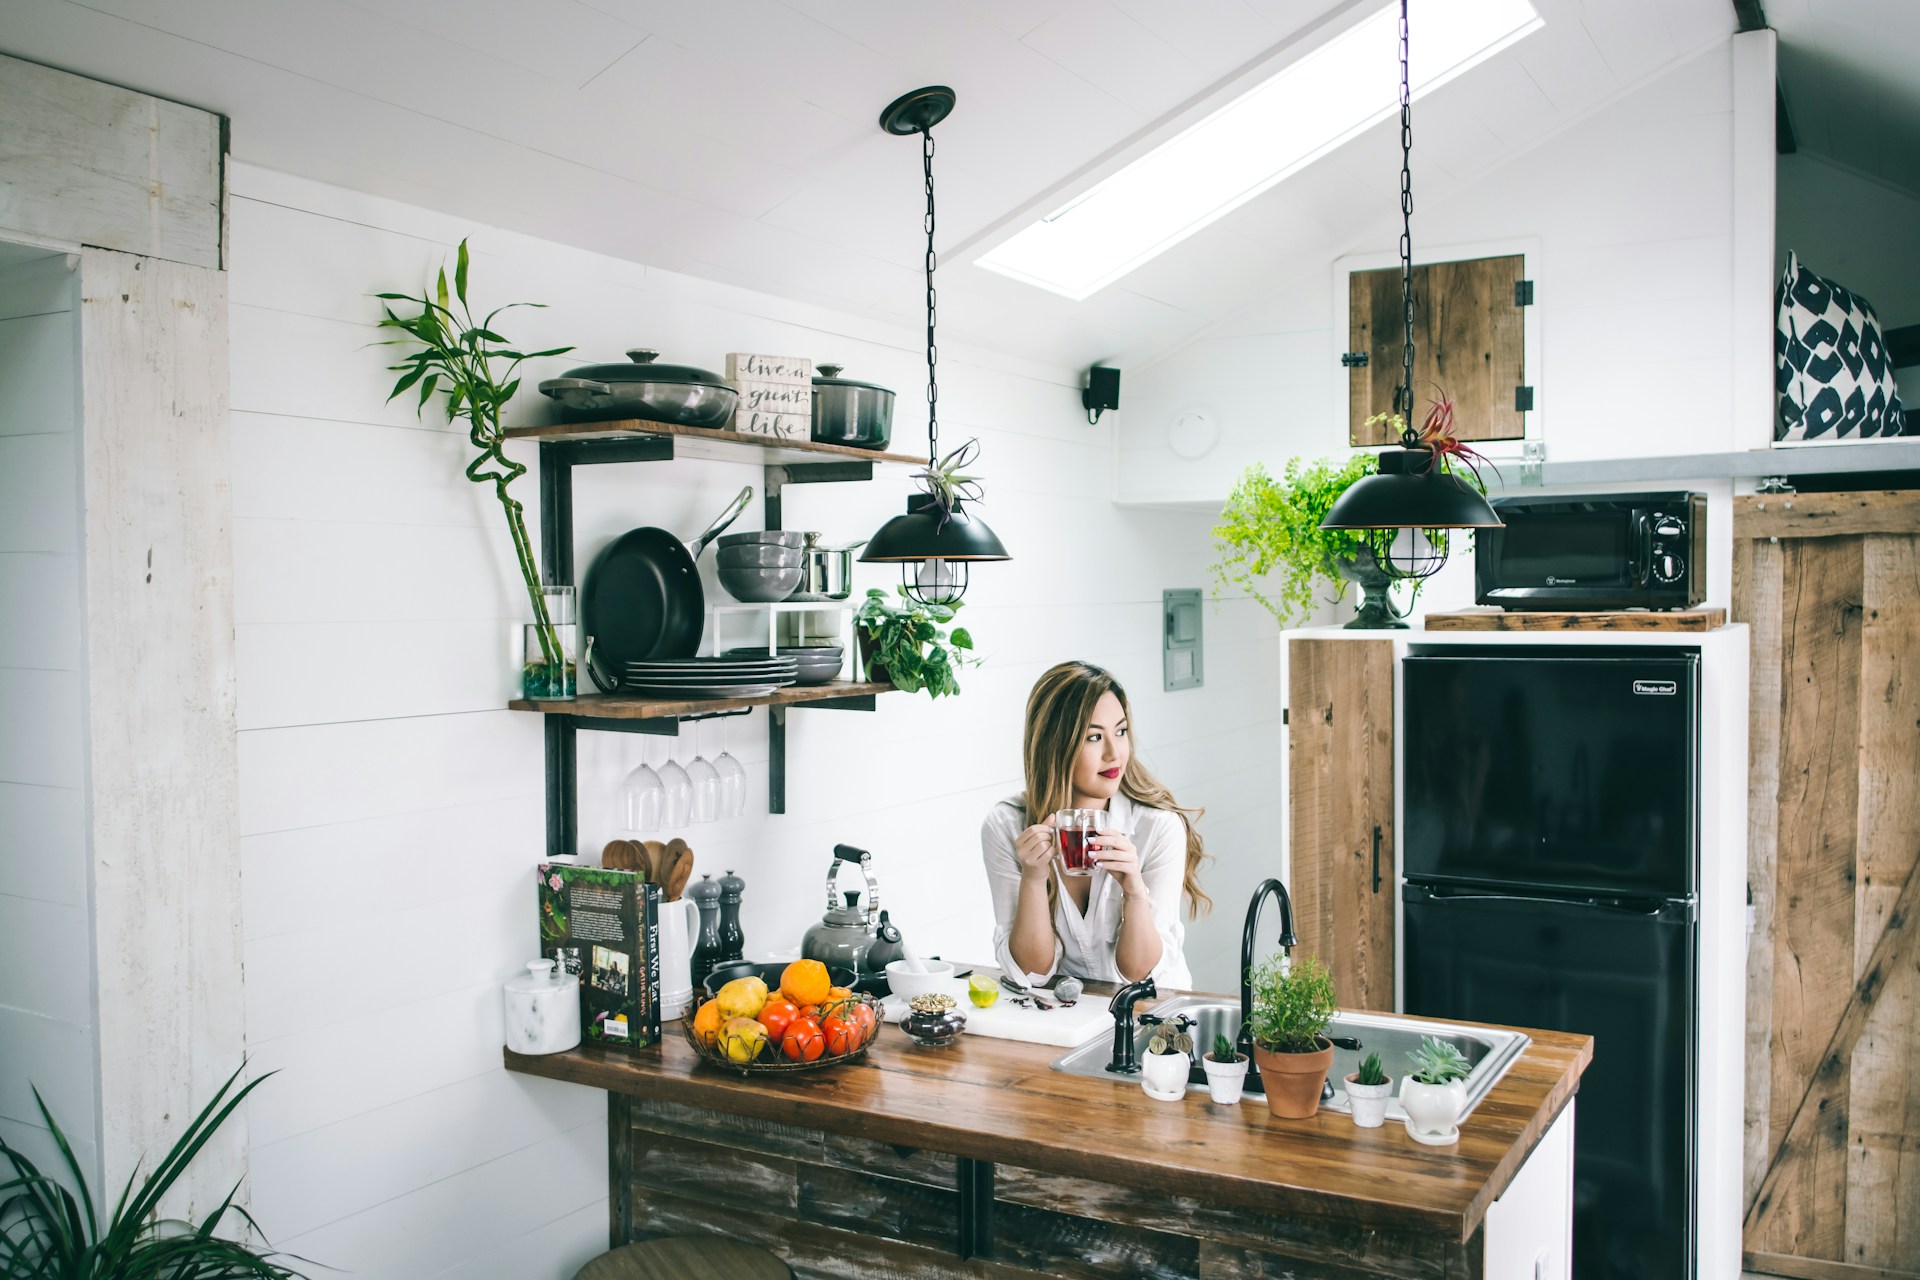
Most kitchen lighting problems show up on the counter. A ceiling fixture can make the room look bright while your body casts a shadow exactly where you chop, read labels, wash dishes, or make coffee. That is why under-cabinet lighting often beats a prettier ceiling bulb for the same budget.
Before buying anything, turn on the kitchen lights at night and stand where you actually work. Check the main prep counter, sink, stove-adjacent counter, coffee area, pantry shelf, and any corner cabinet zone. If the counter is dark while the floor is bright, more overhead light is not the cleanest fix. You need light closer to the work surface.
For renters, plug-in light bars, rechargeable puck lights, and adhesive LED strips are the easiest starting points. For homeowners, low-voltage bars or hardwired under-cabinet fixtures may look cleaner, but those can move beyond the $100 budget once labor and parts are included.
Best First Upgrade: Under-Cabinet LED Light Bars
If you can spend $35 to $75 in one place, put it under the cabinets above the main prep counter. LED light bars are usually easier to make look finished than bare LED tape because the diffuser, housing, and mounting are already handled. A good bar spreads light evenly, hides the diode dots, and keeps glare out of your eyes.
Choose warm white or neutral white, usually 3000K to 3500K for kitchens. A 2700K light can feel cozy but may look too amber on counters. A 4000K light can be useful in a garage or utility area, but in many kitchens it feels clinical. If the kitchen has warm wood, cream cabinets, or brass hardware, 3000K is often the safest choice. If it has white cabinets, stone counters, and a clean modern look, 3500K can work well.
Look for a light with a diffuser, simple mounting clips, and enough cord length to reach an outlet without crossing a wet or hot zone. Avoid placing plug-in cords near the sink, stove, or anywhere they can be pinched by cabinet doors.
If your current under-cabinet setup already flickers, do not just add more lights beside it. Use our guide to [why under-cabinet LED lights flicker and how to fix them](/blog/under-cabinet-led-lights-flicker-fixes) before expanding a failing system.
LED Strips vs Puck Lights on a Budget
LED strips are best when you want a continuous line of light along a long counter, shelf, or toe-kick. They can look excellent if they are hidden behind a cabinet lip or placed inside an aluminum channel with a diffuser. They look cheap when bare dots are visible from normal standing height.
Puck lights are best for small zones: a coffee station, pantry shelf, glass cabinet, corner counter, or rental kitchen where wiring is not an option. Battery puck lights are convenient, but they are not ideal for the main prep counter because batteries drain quickly when used every night. Rechargeable models can work if you are realistic about charging them.
For most kitchens under $100, the best split is simple: use a plug-in LED light bar for the main prep counter and puck lights only for small dead zones. If you choose strip lighting, spend part of the budget on a diffuser channel or at least hide the strip well. Bare tape stuck to the front edge of a cabinet usually creates glare and visible dots.
For more polish, compare the placement principles in our guide to [budget LED strip upgrades that do not look cheap](/blog/budget-led-strip-upgrades-that-dont-look-cheap).

Upgrade Existing Bulbs by Lumens and Color
If the kitchen still uses incandescent, halogen, CFL, or early LED bulbs, replacing those can be the cheapest win. But do not buy by wattage equivalent alone. Buy by lumens, color temperature, dimming needs, and fixture rating.
For a small kitchen ceiling fixture, roughly 1600 to 3000 total lumens may be enough depending on layout and shade style. A larger kitchen may need more, especially if the ceiling light is the only ambient source. The goal is not maximum brightness. The goal is even useful light without glare.
Use consistent color temperature across the kitchen. Mixing 2700K bulbs in the ceiling with 5000K under-cabinet strips makes even good fixtures look accidental. For most budget kitchens, 3000K is the practical all-around choice. It keeps food and finishes looking natural without the blue cast that makes a room feel like a utility closet.
Also check whether the fixture traps heat. Some enclosed glass domes need bulbs rated for enclosed fixtures. A cheap bulb in a hot enclosed fixture may flicker or fail early. If that is already happening, see our guide to [LED bulbs flickering after a year](/blog/led-bulbs-flickering-after-a-year-diy-fixes) before replacing the same bulb again.
Should You Add a Dimmer?
A dimmer can make a kitchen feel more expensive, but only if the fixture and bulbs are compatible. It is useful when one overhead light has to serve breakfast, prep work, cleanup, and late-night snack runs. It is less useful if the main problem is shadows on the counter. In that case, under-cabinet task light comes first.
If you already have dimmable LED bulbs and a simple switch, an LED-compatible dimmer may fit the budget. But older switch boxes, missing neutral wires, multi-way circuits, local code, and electrician labor can make this more complicated than the product price suggests.
Do not install a dimmer with non-dimmable bulbs. Do not mix random dimmable bulb models on the same control if the fixture has several sockets. Flicker at low levels usually means the dimmer, bulb, or load is mismatched.
What to Skip Under $100
Skip ultra-cheap color-changing strips as the main kitchen light. They can be fun for a party, but most are not good task lighting. The adhesive fails, the color accuracy is poor, and the white mode often looks harsh or tinted.
Skip decorative bulbs if the shade blocks the light you need. A beautiful filament-style LED inside a smoky glass fixture can look great over an island but do little for the counter where you prep food.
Skip no-name hardwired fixtures if there is no clear safety listing, driver information, or installation documentation. Kitchens combine heat, moisture, metal surfaces, and frequent use. Saving a few dollars is not worth installing questionable electrical parts.
Skip any project that requires guessing about wiring. Replacing a bulb, mounting a plug-in light bar, or using rechargeable pucks is a budget DIY task. Opening boxes, adding wiring, or changing hardwired fixtures requires proper shutoff, code awareness, and often an electrician.
A Simple $100 Kitchen Lighting Plan
Here is a realistic order for one small kitchen. Spend $40 to $60 on a diffused plug-in under-cabinet LED bar for the main prep counter. Spend $15 to $25 on better LED bulbs for the ceiling or pendant fixture, matched by color temperature. Spend $10 to $20 on one rechargeable puck light for a pantry, coffee zone, or corner cabinet. Keep the last $10 to $20 for clips, cord management, or a better extension solution rated for the location.
If the kitchen already has decent bulbs, move more of the budget toward a second under-cabinet bar. If it already has good task lighting, use the budget for bulb consistency and dimmer compatibility. The best plan depends on the current weak point.
Bottom Line
Budget kitchen lighting upgrades under $100 should make the kitchen easier to use, not just brighter. Start with the counter. Add diffused under-cabinet task light where shadows slow you down. Match bulb color temperatures. Choose LEDs by lumens and fixture rating. Use puck lights only for small zones. Add a dimmer only when the bulbs, fixture, and wiring make sense.
The kitchen does not need a full remodel to feel better at night. It needs light in the right places, the right color, with controls and drivers that do not flicker.
Sources
- [ENERGY STAR: Light Bulbs](https://www.energystar.gov/products/lighting_fans/light_bulbs)
- [U.S. Department of Energy: LED Lighting](https://www.energy.gov/energysaver/led-lighting)
- [IEEE Std 1789-2015: Recommended Practices for Modulating Current in High-Brightness LEDs](https://standards.ieee.org/ieee/1789/6180/)
Frequently Asked Questions
What is the best kitchen lighting upgrade under $100?
For most kitchens, the best first upgrade is diffused under-cabinet LED task lighting above the main prep counter. It fixes shadows where people actually cook, which overhead bulbs often cannot do by themselves.
Are under-cabinet LED strips or puck lights better?
LED strips or light bars are better for continuous counter lighting. Puck lights are better for small zones like pantries, coffee stations, and corner shelves. Battery pucks are convenient, but they are not the strongest choice for daily task lighting.
What color temperature is best for kitchen lighting?
Most kitchens look best around 3000K to 3500K. Use 3000K for a warmer home feel and 3500K for a cleaner task-lighting look. Avoid mixing very warm and very cool lights in the same kitchen.
Can I install kitchen lighting without an electrician?
You can usually install plug-in light bars, rechargeable puck lights, adhesive strips, and replacement bulbs yourself. Hardwired fixtures, new wiring, switch changes, and uncertain electrical boxes should be handled according to local code and by a qualified electrician when needed.